

I love summer, but the combination of the record-breaking heat and poor air quality due to wildfires sure makes the summer of 2021 hard to like. My garden wasn’t a fan of this growing season either - it would be fair to say that it was an underperforming year. But, as an eternal optimist, I knew this pity party needed to end, and thanks to Pinterest it has – by way of seed bombs.
If you enjoy mindlessly scrolling on Pinterest as much as I, you may have some (by some, I really mean many) ideas pinned to boards that you intend to try. A seed bomb pin has held such a position on my gardening board for a while now (a long while). The stars have aligned, and I decided to try out this project. It is fun, easy, and giftable – I mean, there is little more that you could ask for our of a Pinterest project!
My Process:
You will need: flower seeds, air-dry clay, soil, and a bowl
You might also want: cutting board, 2 bowls, ¼ measuring cup, 1Tbsp measuring spoon, cookie cutter and gift wrap (bear with me on this one).
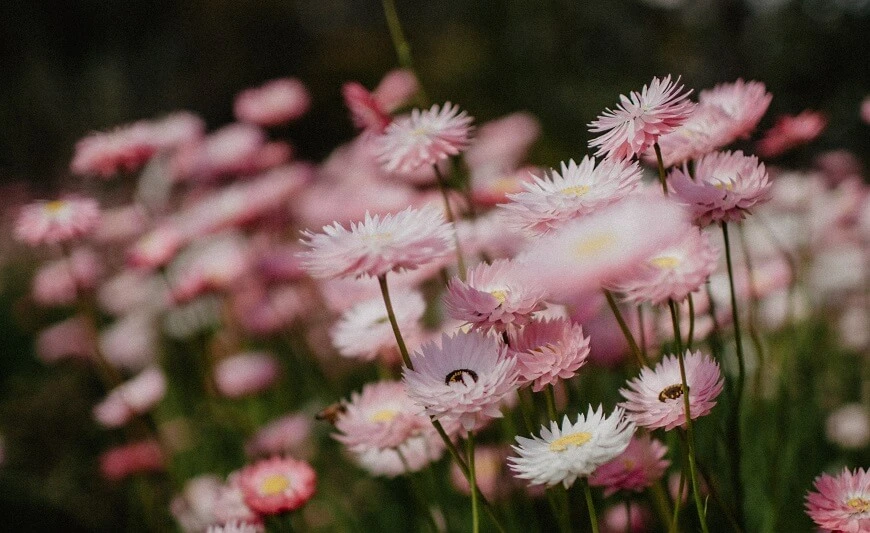
Step One: Seeds
You have two options here, either harvest seeds from your own garden or purchase a seed packet.
Tip: Select seeds that grow well in your community.
Step Two: Measure
This recipe is accommodating, just keep in mind the proportions.
1 Tbsps. seeds
¼ cup clay
1 cup soil
Step Three: Mix
In this complicated world we live in, it sure is nice to have something simple. With that in mind:
Place all ingredients in a mixing bowl. Using your hands, mix well.
Tip: If you find that you mixture is a bit too dry, add a little water.
Step Four: Create
This is your chance to be creative. Using just my hands, I treated the mixture like cookie dough and portioned out chunks and rolled them into small balls. Just like the image from the Pinterest pin. Quick and easy.
If you are feeling a little creative, try different shapes. After rolling clay to about a quarter-inch thickness, I used a small flower shaped cookie cutter (I mean, how could I not?!). Since I used the seeds from Marigolds harvested from my garden, I pressed a few dry petals into the top of each flower shaped seed bomb.
Tip: Try a few options, you really can’t mess this up!
Step Five: Dry
Once you have you have finished creating your seed bombs, leave them alone to dry for about 24 hours.
Step Six: Wrap
These seed bombs would be a great gift for your neighbor, child’s teacher, housewarming – the options are endless. Because these are small, they can be bundled to feel quite special.
If you intend to use these yourself, skip this step, and don’t give it a second thought – there is no shame in adding beauty to the world!
Consider:
Placing a few in a ceramic pot and tying a bow around the pot.
-or-
Grouping a few into a cellophane gift bad and tying with a bow.
-or-
Wrapping in tissue any tying the ends to look like a giant candy.
Step Seven: Plant
I’m not sure that there is much that needs to be added to this step, other than, please do place the seed bomb in a bit of soil, ideally just before it rains, or just before you hand-water.
Tip: To increase your chances for success, plant seed bombs in sunny areas.
There you have it a simple and enjoyable way to add some color and spread joy.