

Updated July 7, 2021!
I received a vermicompost bin for Christmas! Yep…I got a worm bin, and I’m SO EXCITED! If your brow has furrowed in disbelief, as to why I am excited, or if you are wondering what vermicomposting entails, fear not. I have answers for you.
Full disclosure, I am not a vermicomposting expert. This is my first attempt at vermicomposting. The results could go any which way, only time will tell. I have read many blog posts and articles about vermicomposting, and watched several YouTube videos. There were many recommendations (and some contradictions) which I found to be a little frustrating. But, I took a step back, put my Type A rule-following tendencies in check, and decided to just figure it out…we are talking about worms here, not brain surgery.
What is vermicomposting?
Vermicomposting is composting with worms. Simple. Of course there’s much more to it, but really, it all comes back to composting with worms.
How is vermicomposting different than traditional composting?
Each technique utilizes organic waste to produce a nutrient-rich soil amendment that benefits plants, but the methods and requirements are different. Note, I said different not better.
Traditional composting requires a bit of outdoor space and planning.
A traditional composting site should be:
- Large enough to accommodate a 36”x36” bin (or larger).
- Located on bare dirt in a reasonably sunny area.
- Near a water source for easy access.
Vermicomposting requires:
- A bin that’s at least two square feet in size.
- An indoor or outdoor location, with a temperature range between 55-77 degrees Fahrenheit.
- Worms! (more on these little critters in a bit)
The smaller footprint and indoor/outdoor flexibility makes vermicomposting accessible to more people.
Why did I choose vermicomposting over traditional composting?
Aside from these advantages, you might be disappointed by the “why” behind my choice. The reasons are neither deep nor meaningful, but here they are:
Critters are not typically my thing, but worms are an exception.
- This guy was my favorite character on Sesame Street.
 Photo Credit: Heroes Wiki - Fandom
 - On rainy days, the kids and I have spent many afternoons moving worms inebriated by rainwater out of pedestrian foot traffic.
- Worms are strong, productive, and independent – aspirational qualities for sure!
- Have you ever held one in the palm of your hand? They tickle you as they walk.
Vermicomposting bins can be cute.
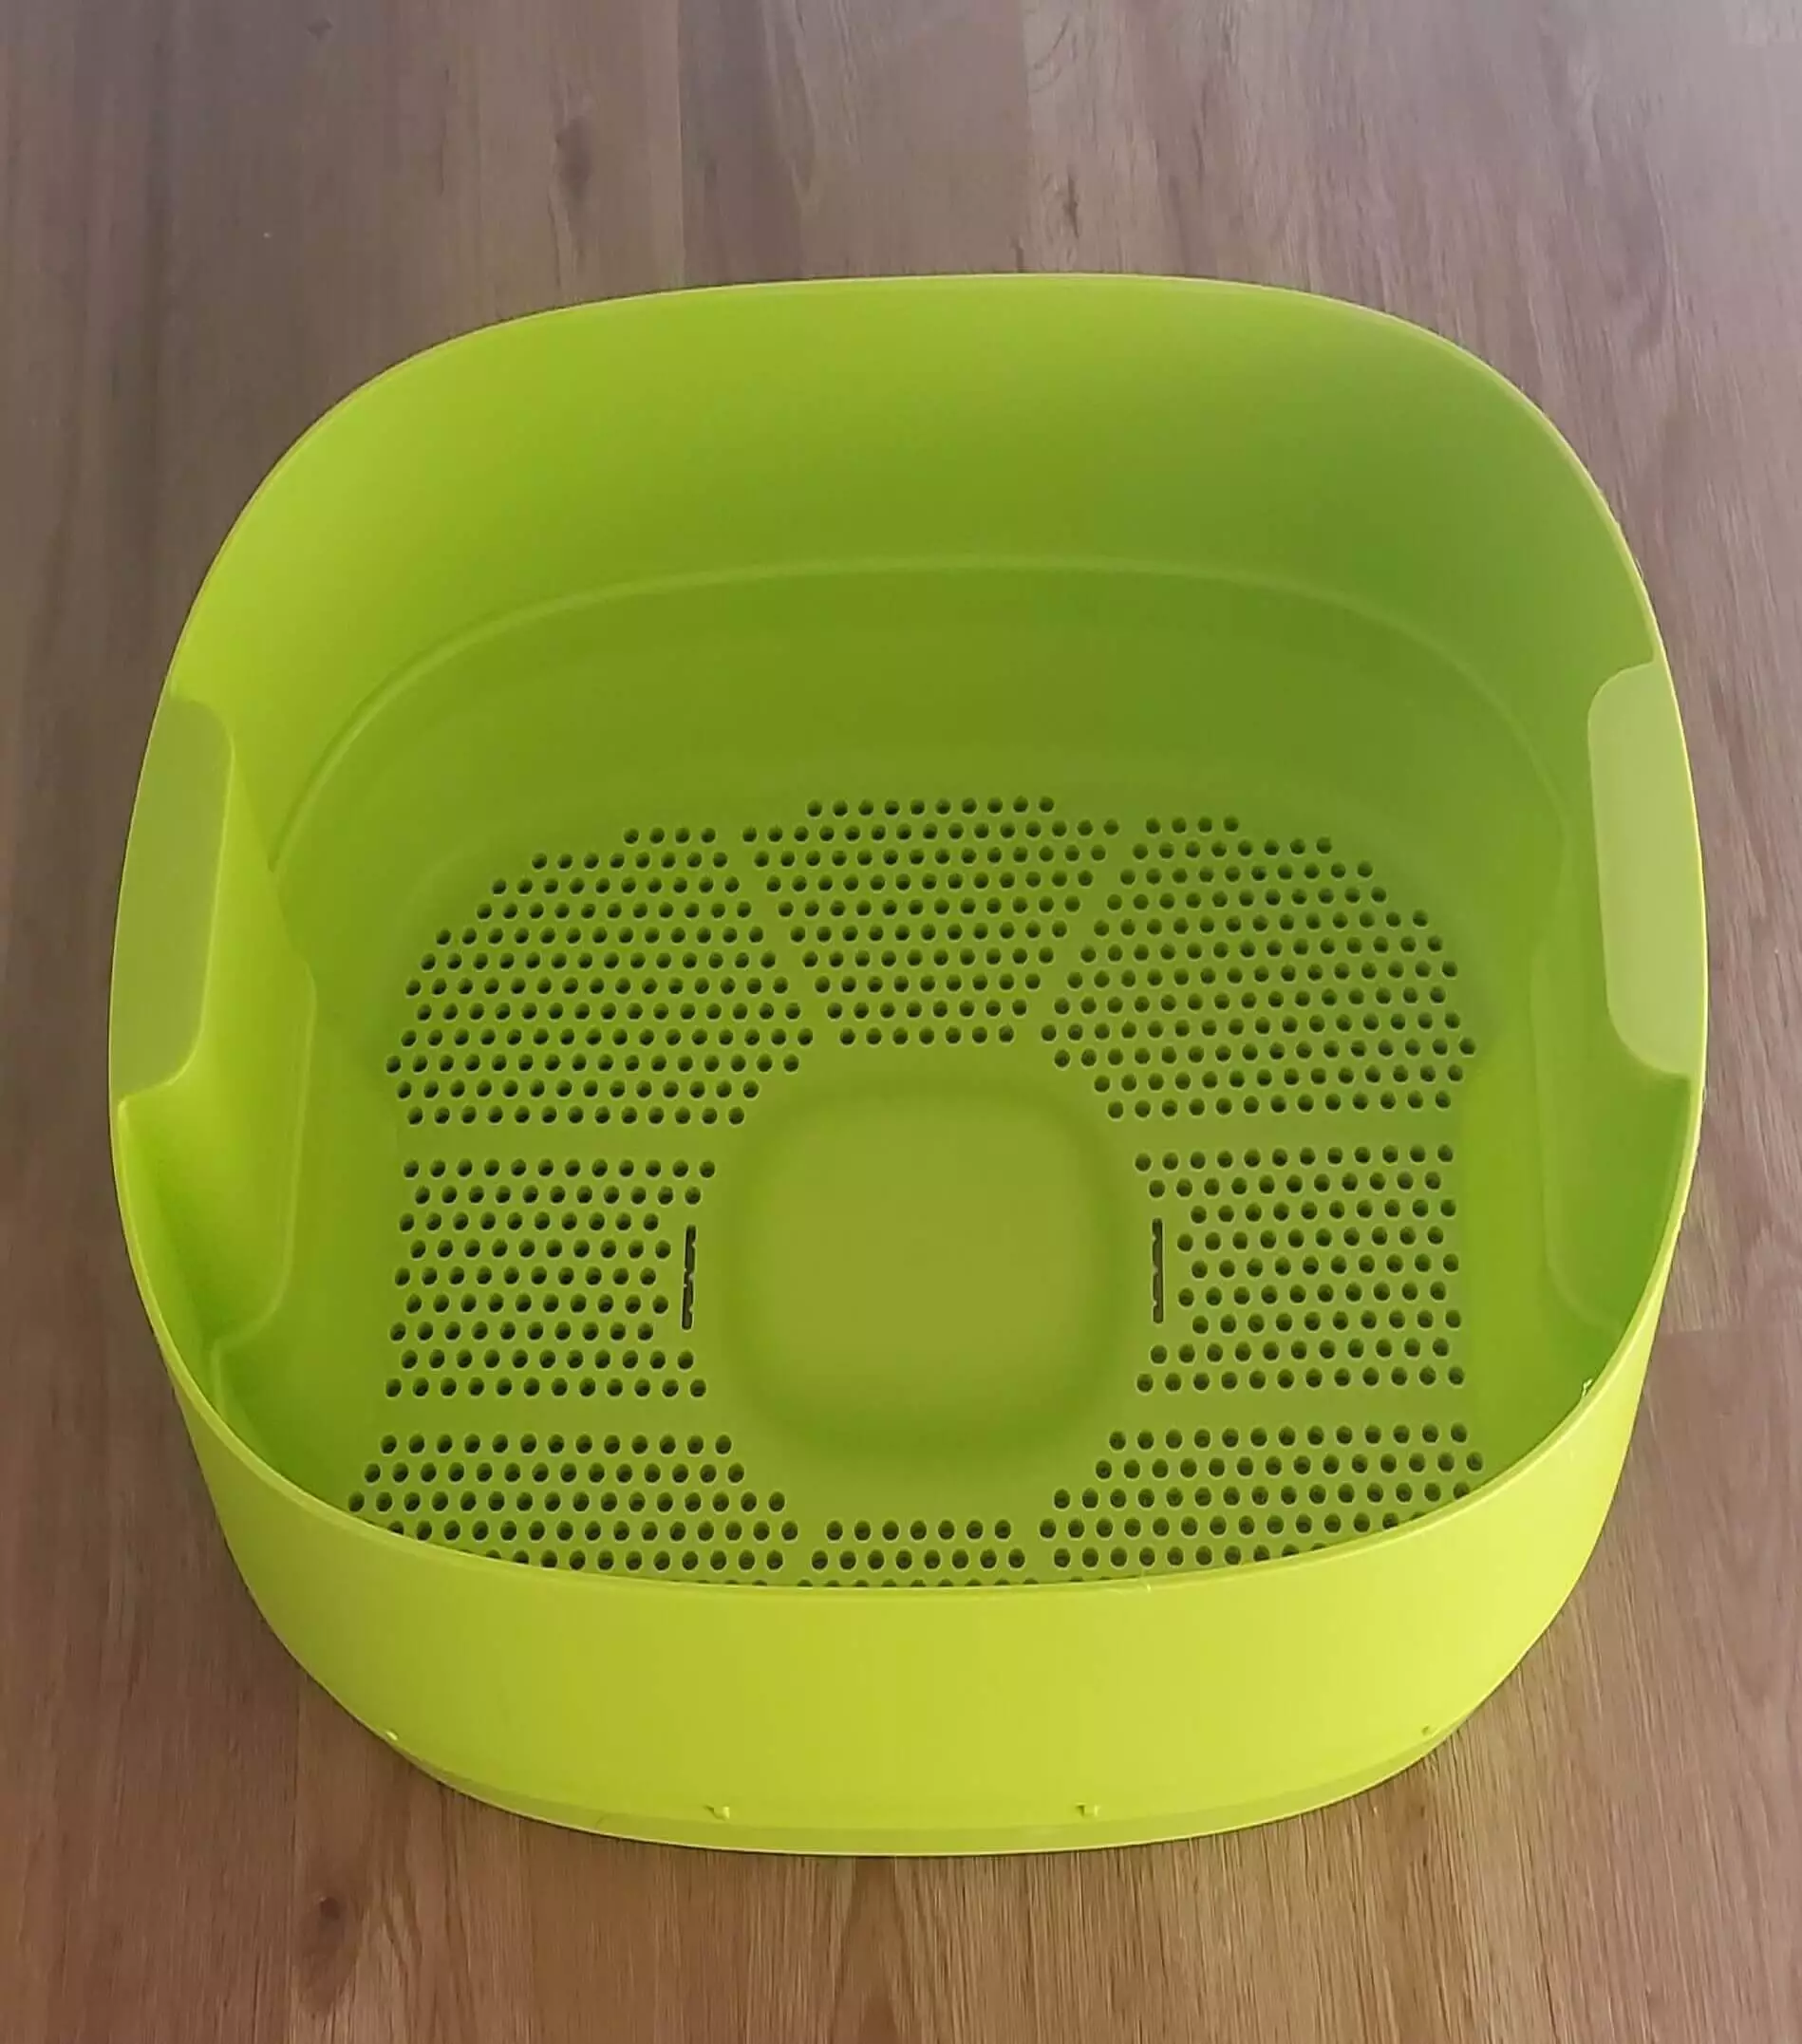
- Sometimes aesthetics matter, and if a requirement is to have this unit in or close to the house, I want it to look pretty.
- Instructions for building your own are readily accessible online, but I’m not handy, so I found one online that I really liked. Did it cost more that a DIY version? Yes, but here’s the thing, I probably never would get around to building the DIY bin, even though it seems quite simple.
Legitimate or not, this was a reason. Roll your eyes if you must, but we all have our reasons for doing things.
Vermicomposting seems easier.
I almost hesitated to put this down, as I may be completely wrong and don’t want to jinx my efforts, but at this very moment, it seems true. (Fingers crossed!)
How to set up a vermicompost bin.
These are the steps I took to set up my worm bin.
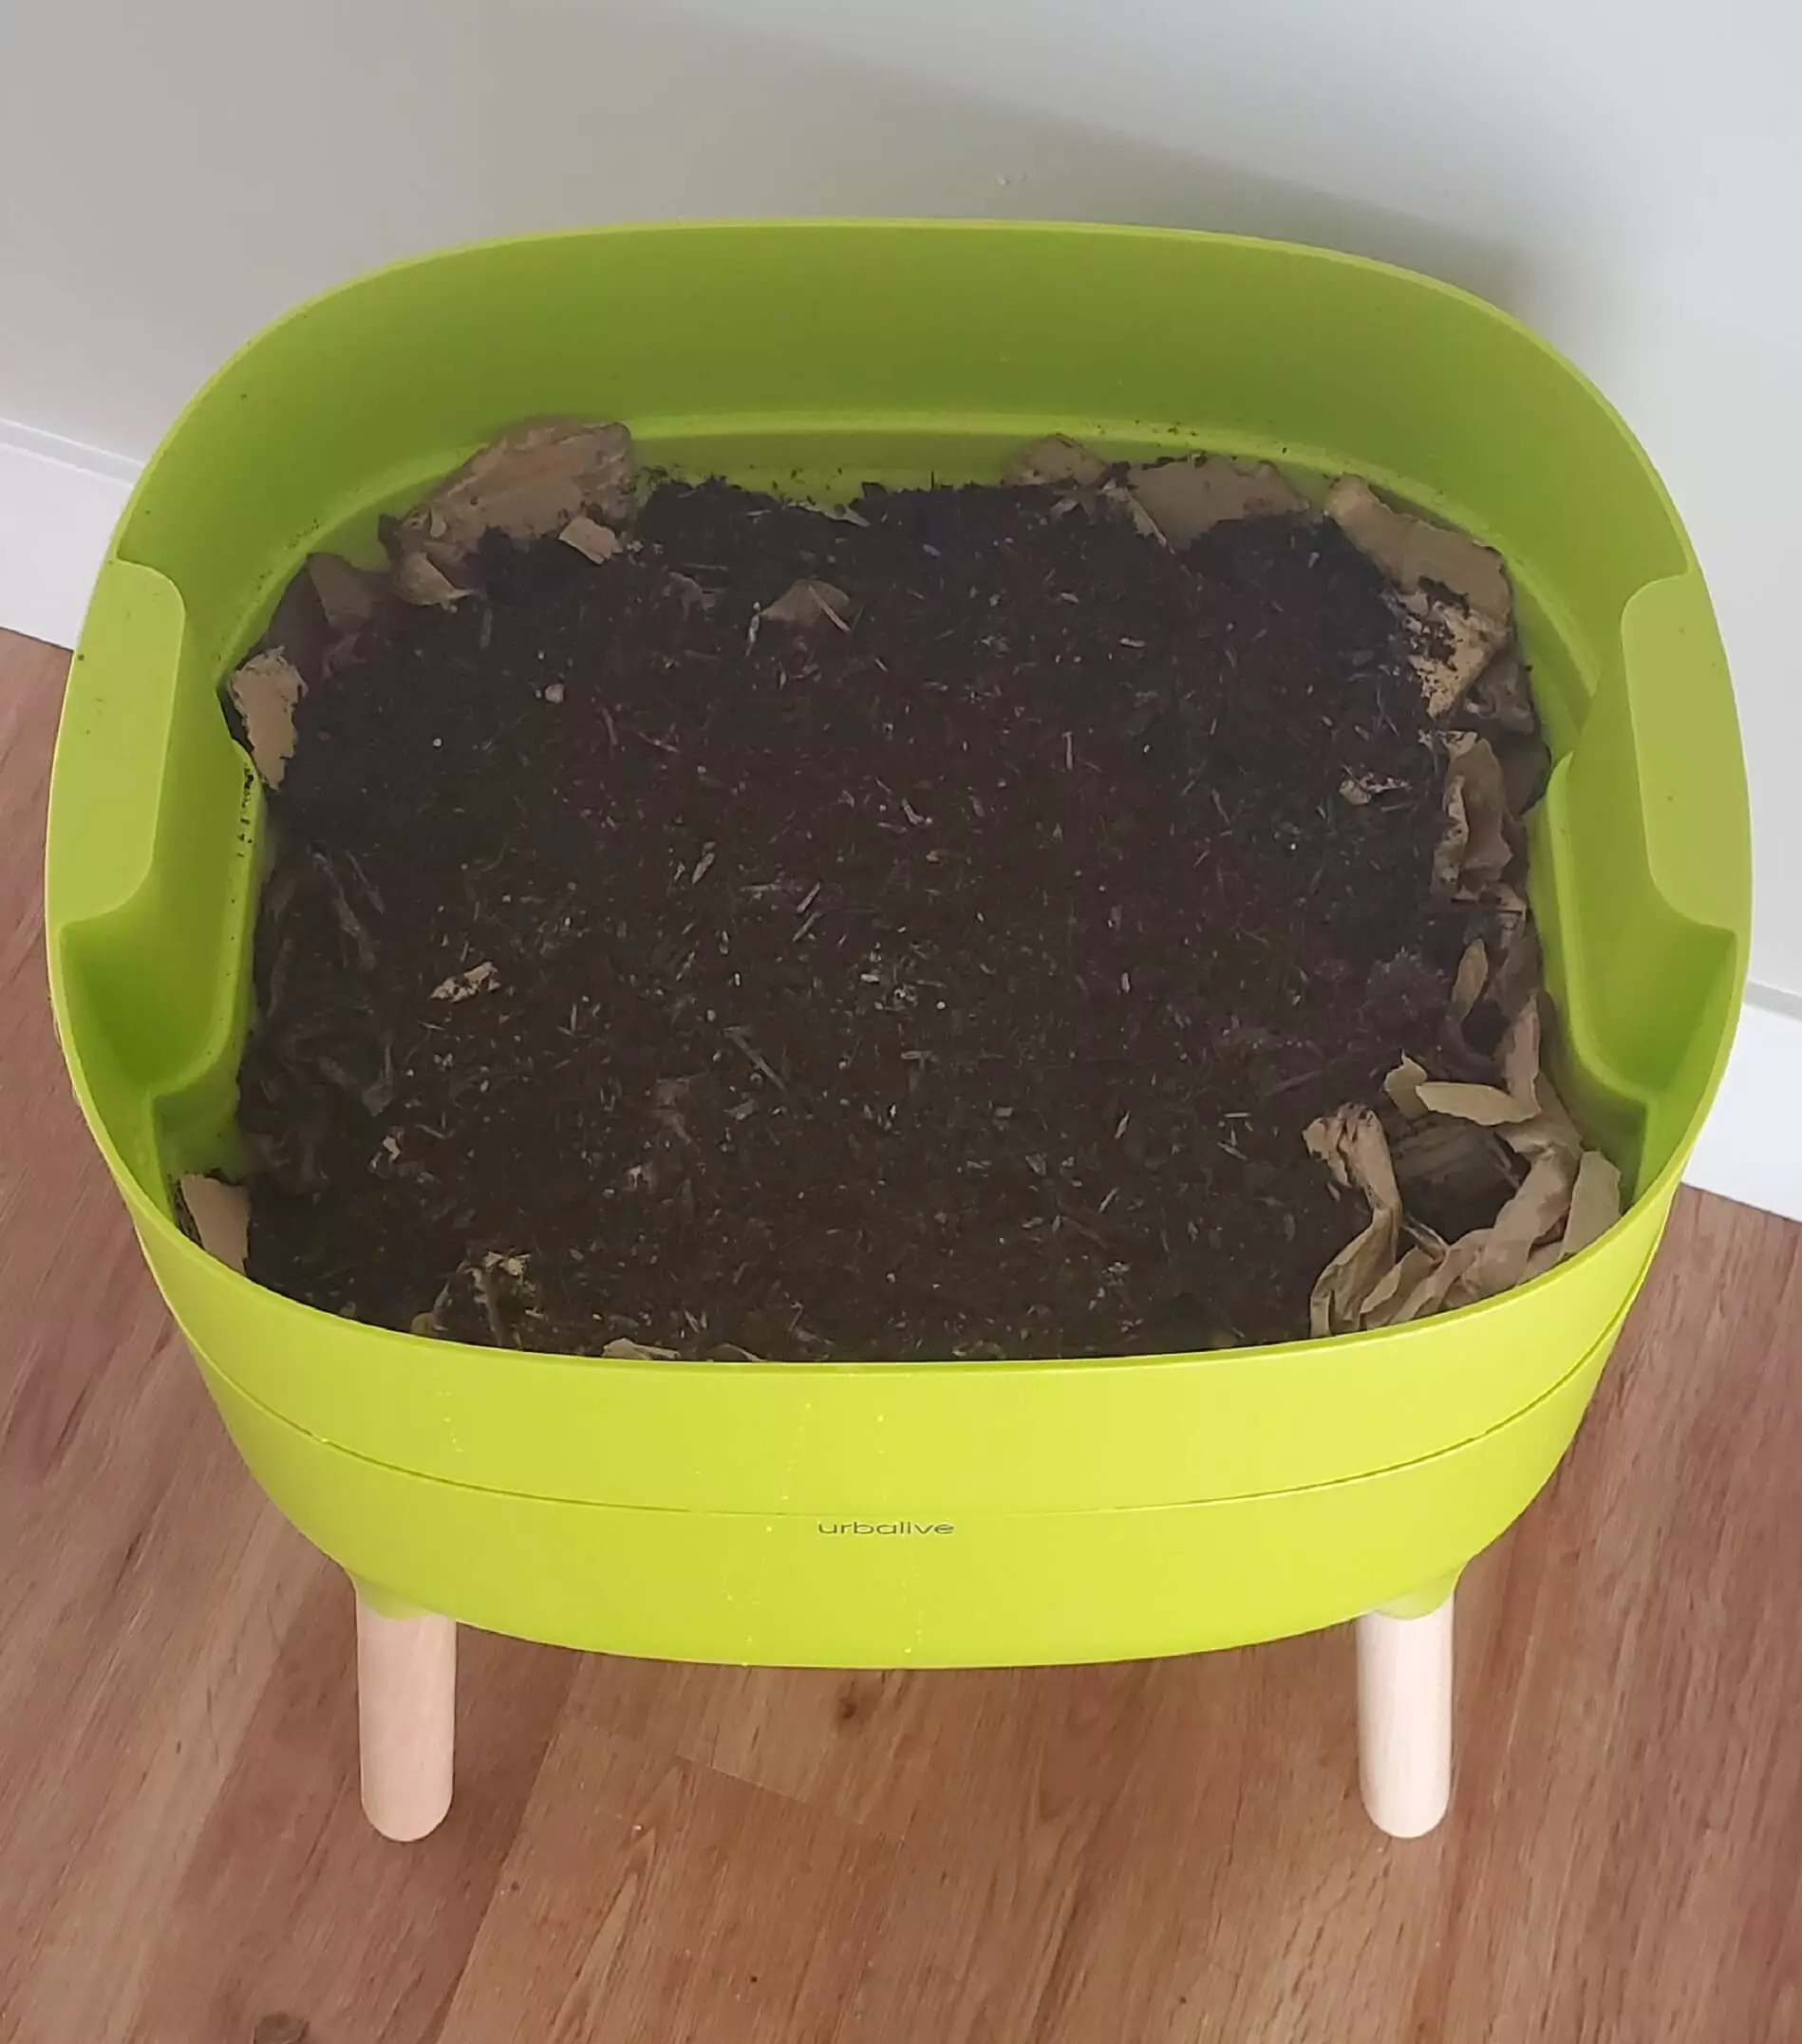
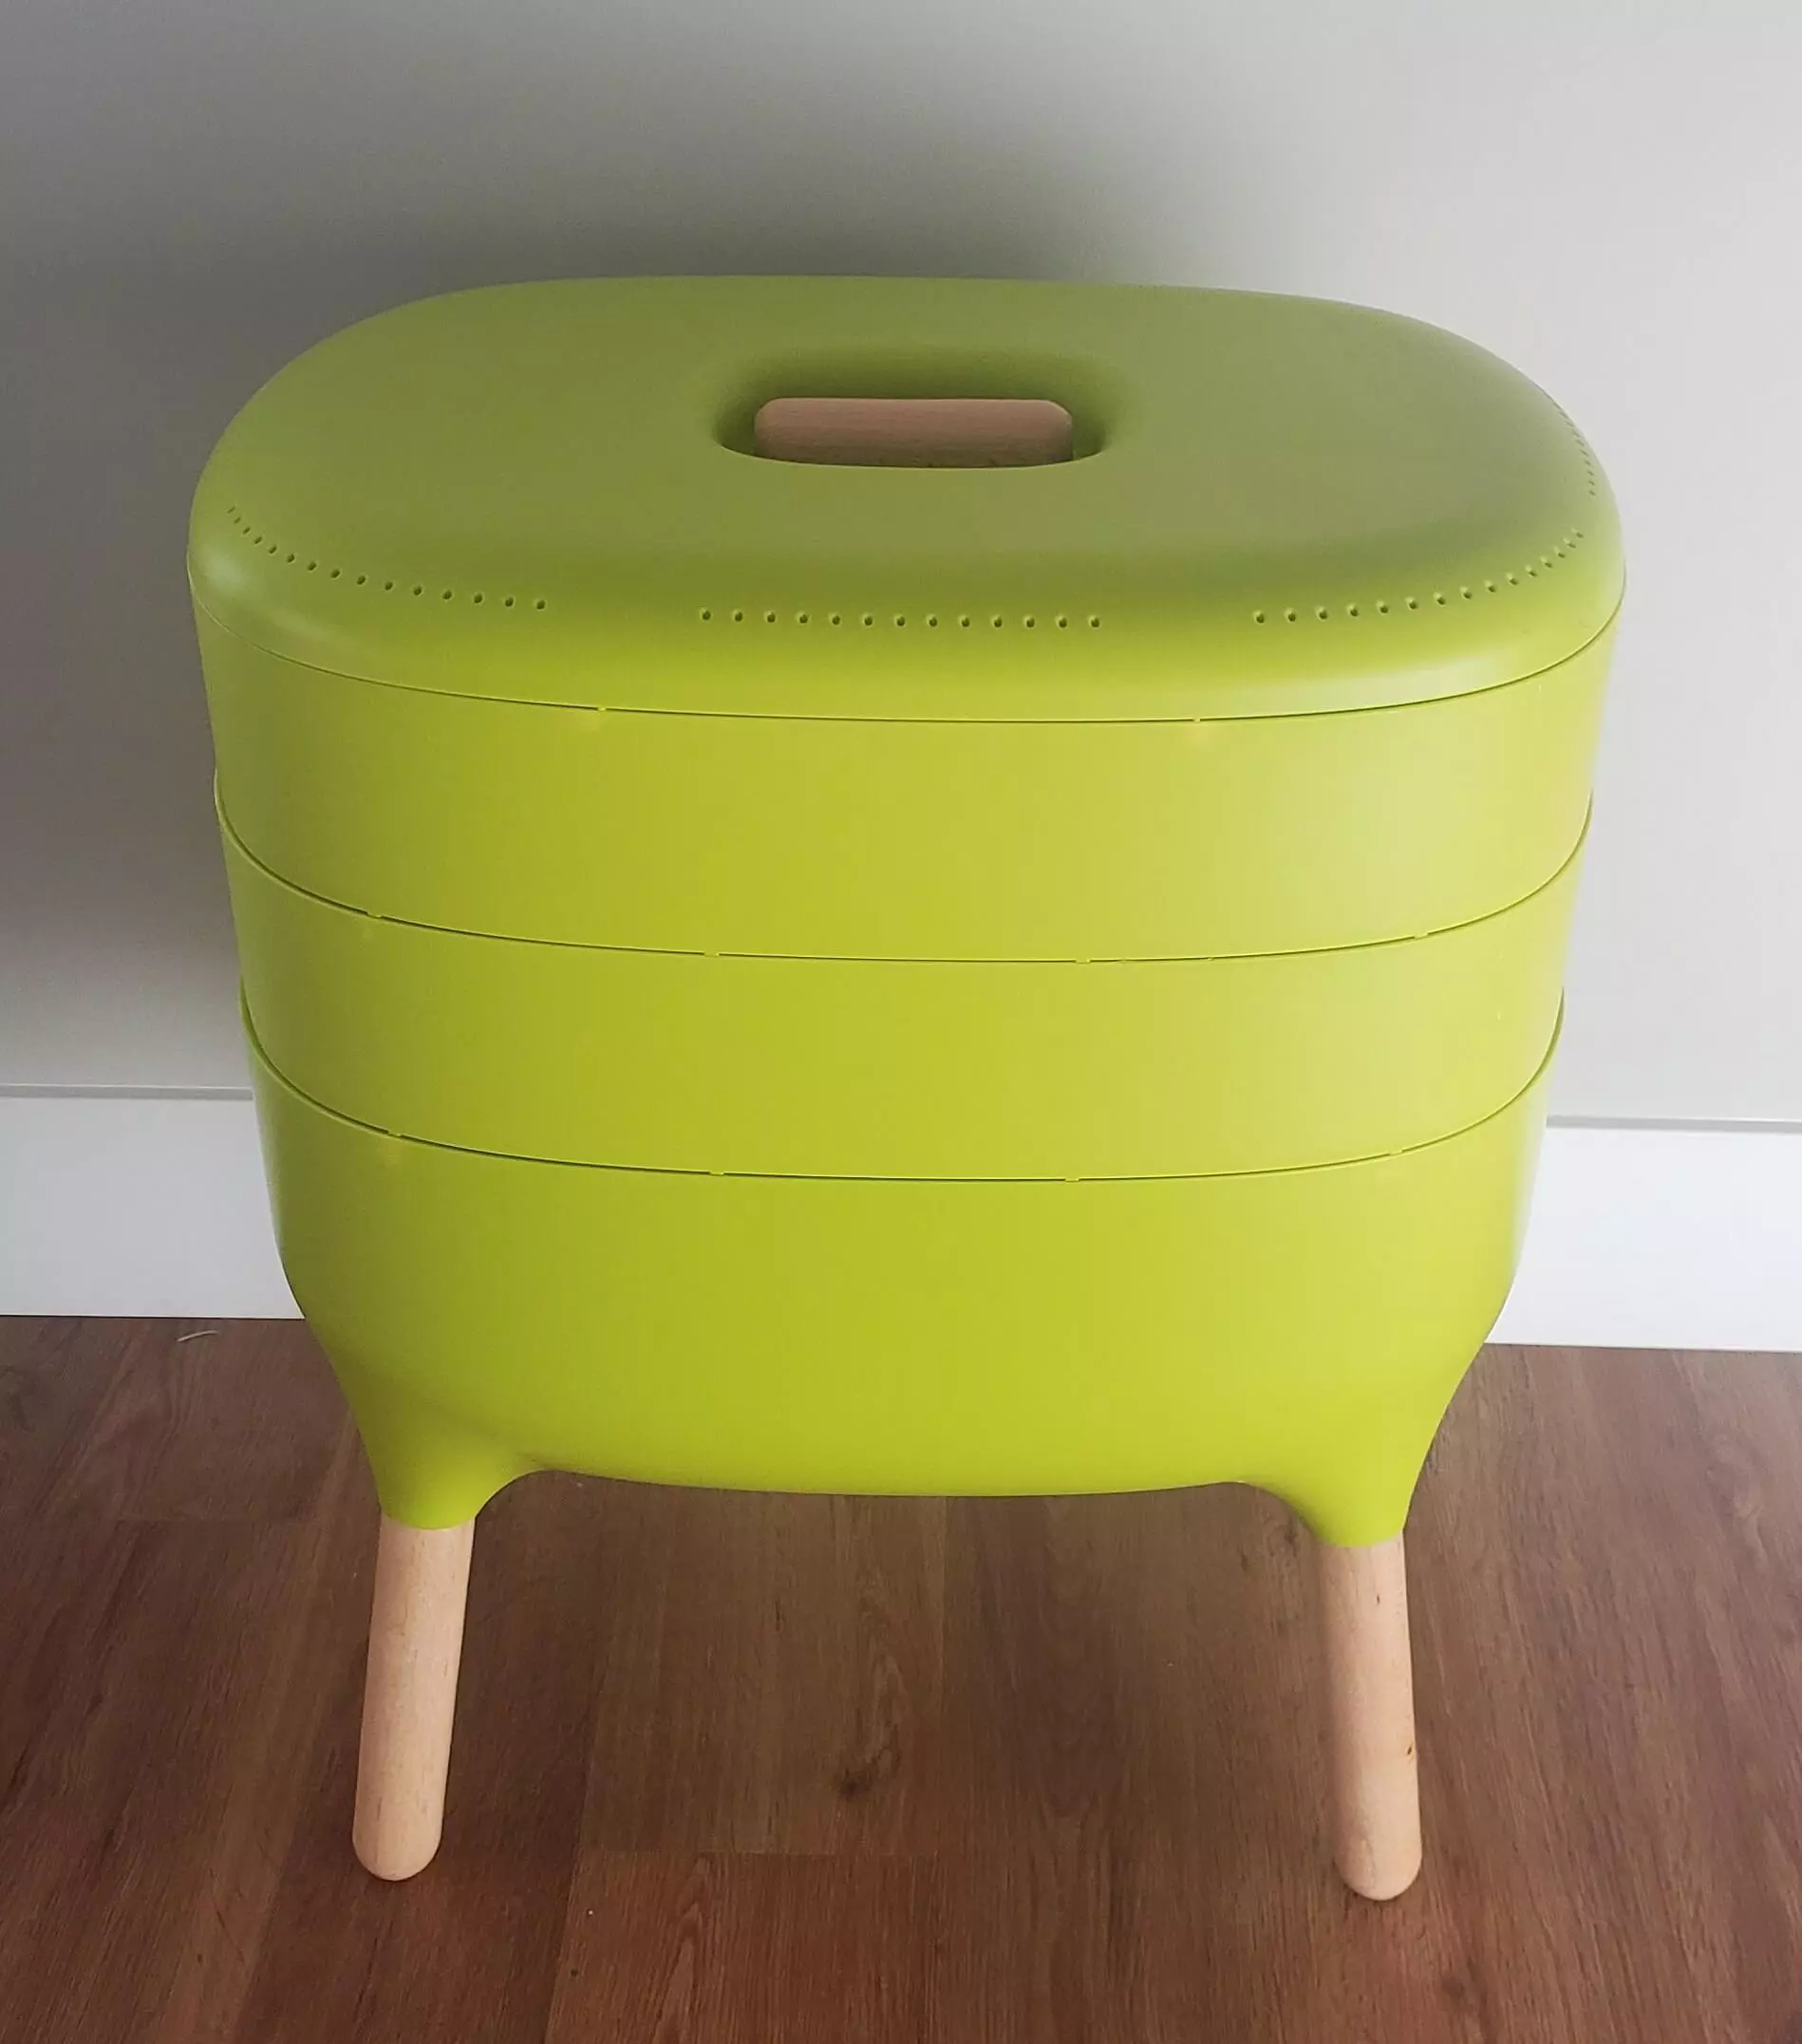
- Buy (or build) your vermicompost bin.
.webp) The pretty little worm bin that I received for Christmas.
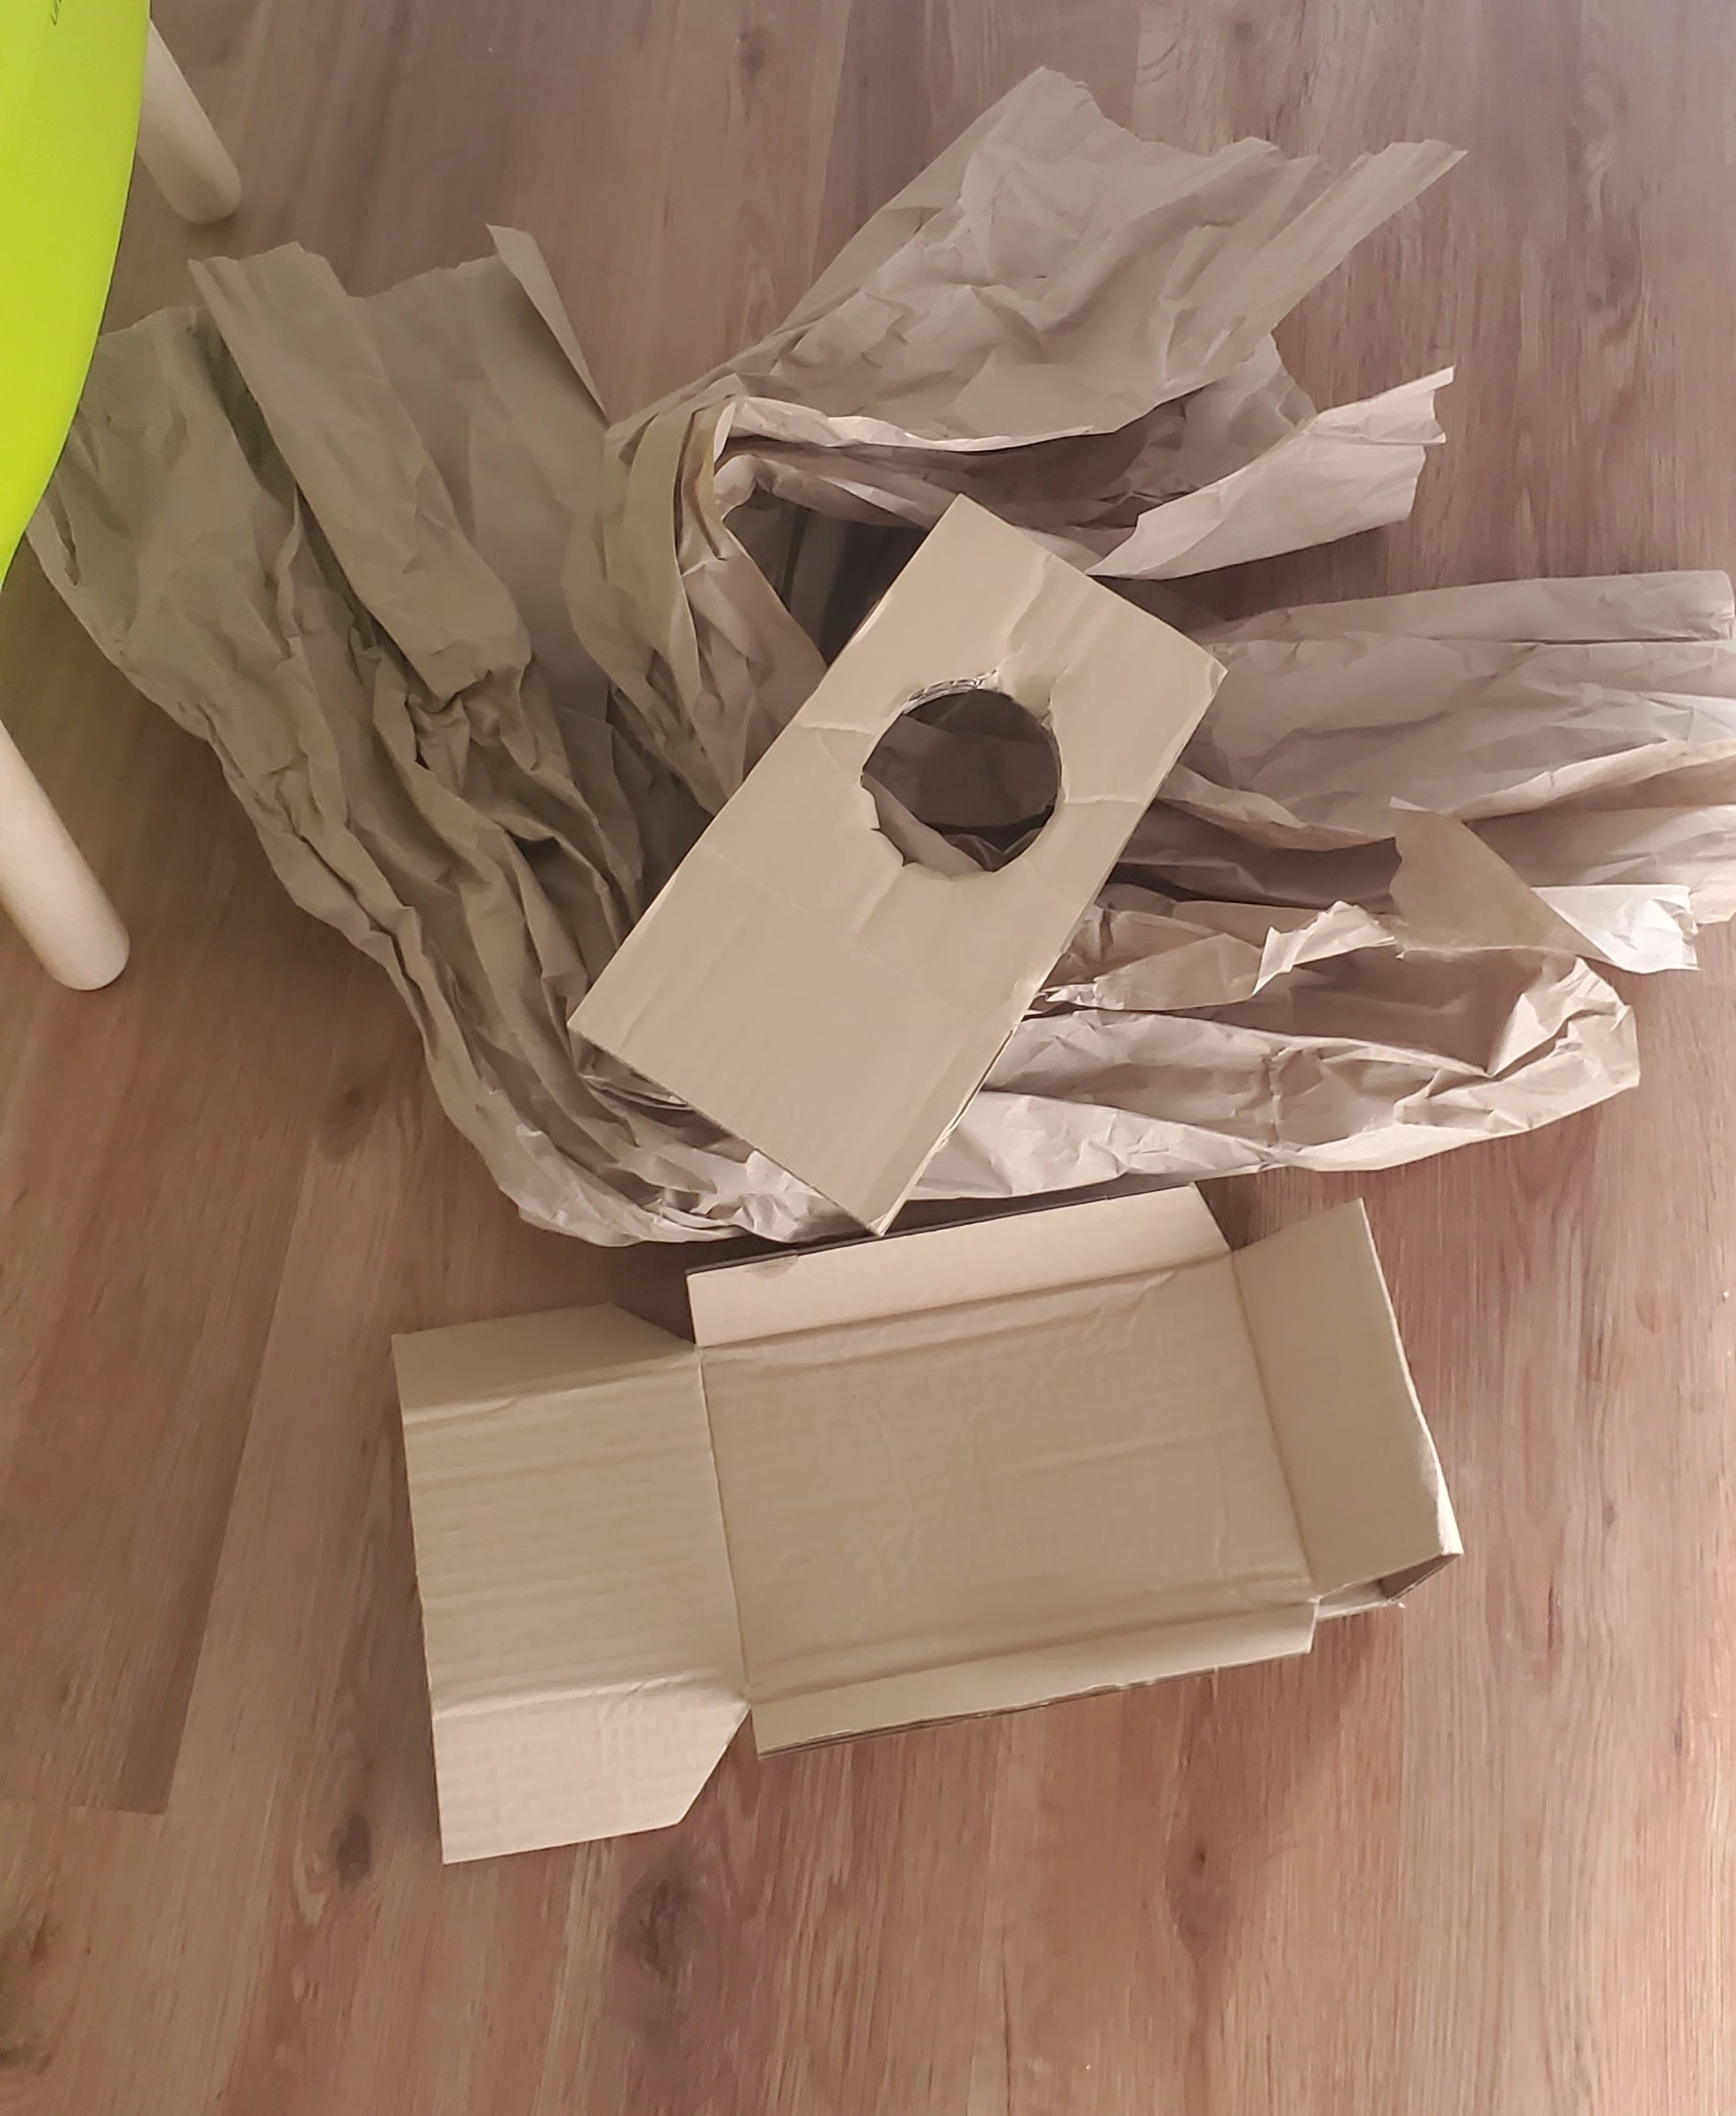
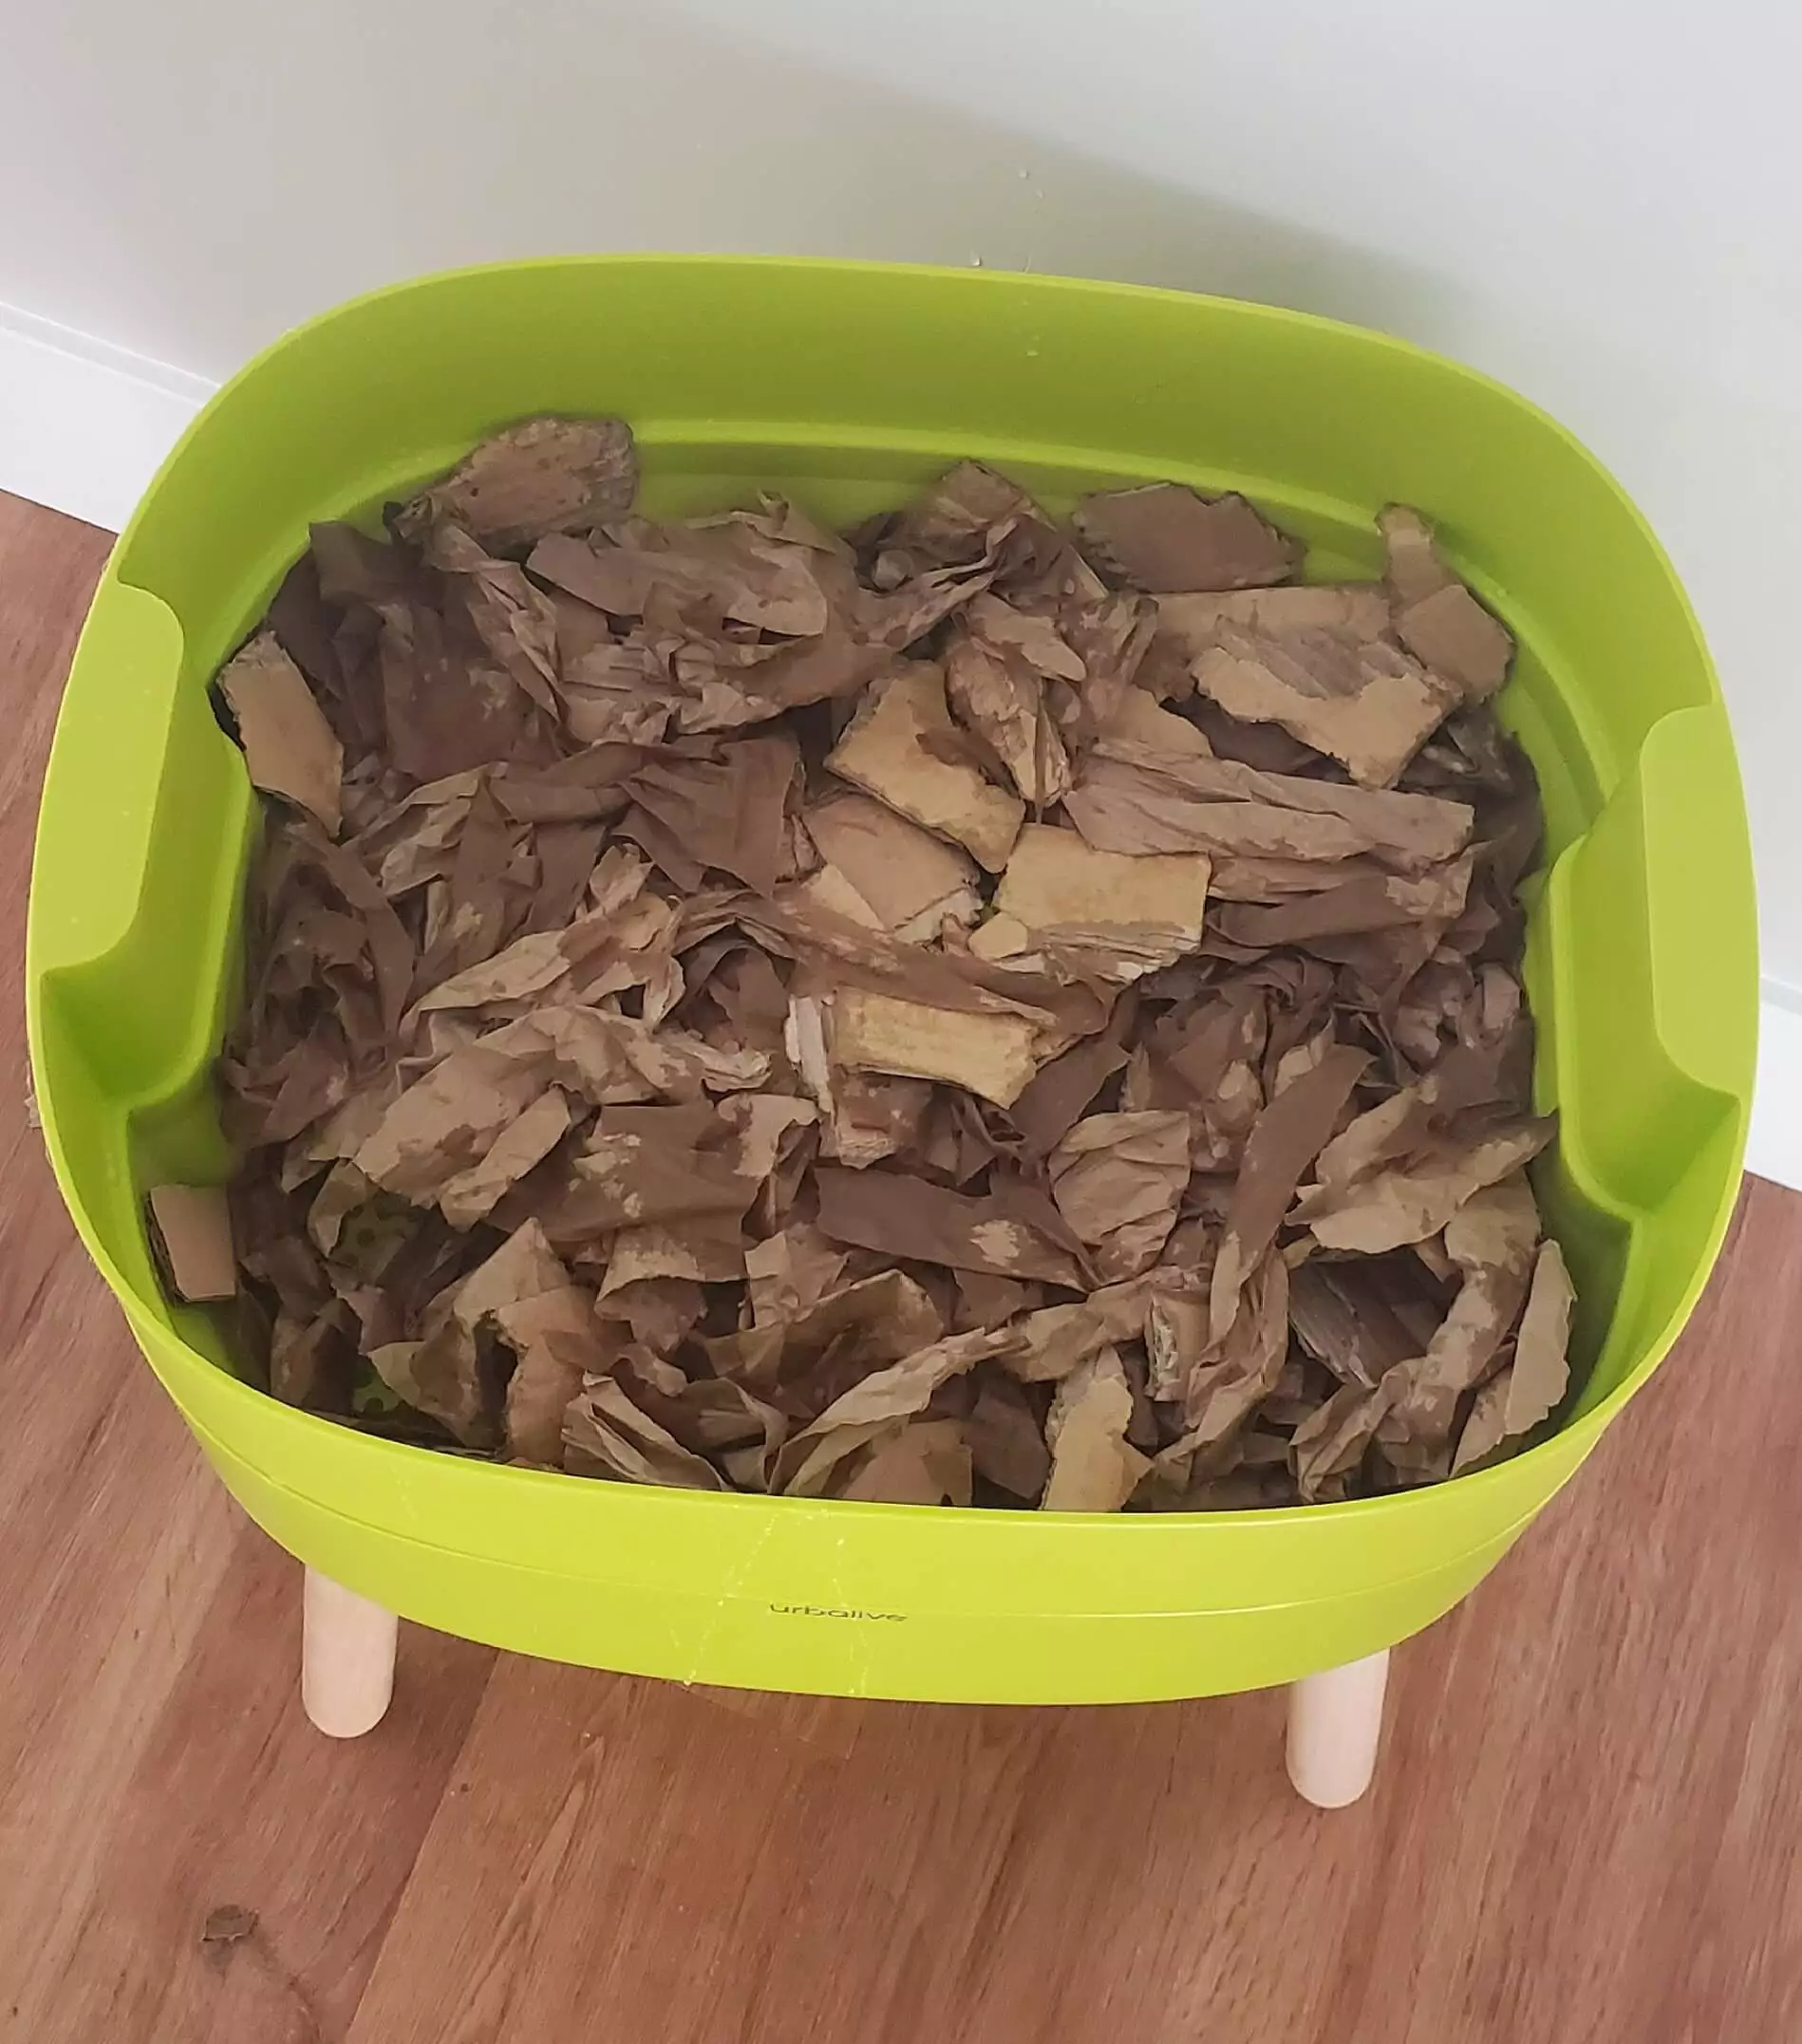
The pretty little worm bin that I received for Christmas. - Add approximately 2” of bedding (think shredded paper, corrugated cardboard, wood chips, leaves, you get the idea).
- Spritz with a bit of water and mix thoroughly. From what I have read, use enough water to see that there is water on the materials, but not enough to be able to wring any out. Too much water can lead to a stinky worm bin – Ewwww!
- Add a thin layer of garden soil.
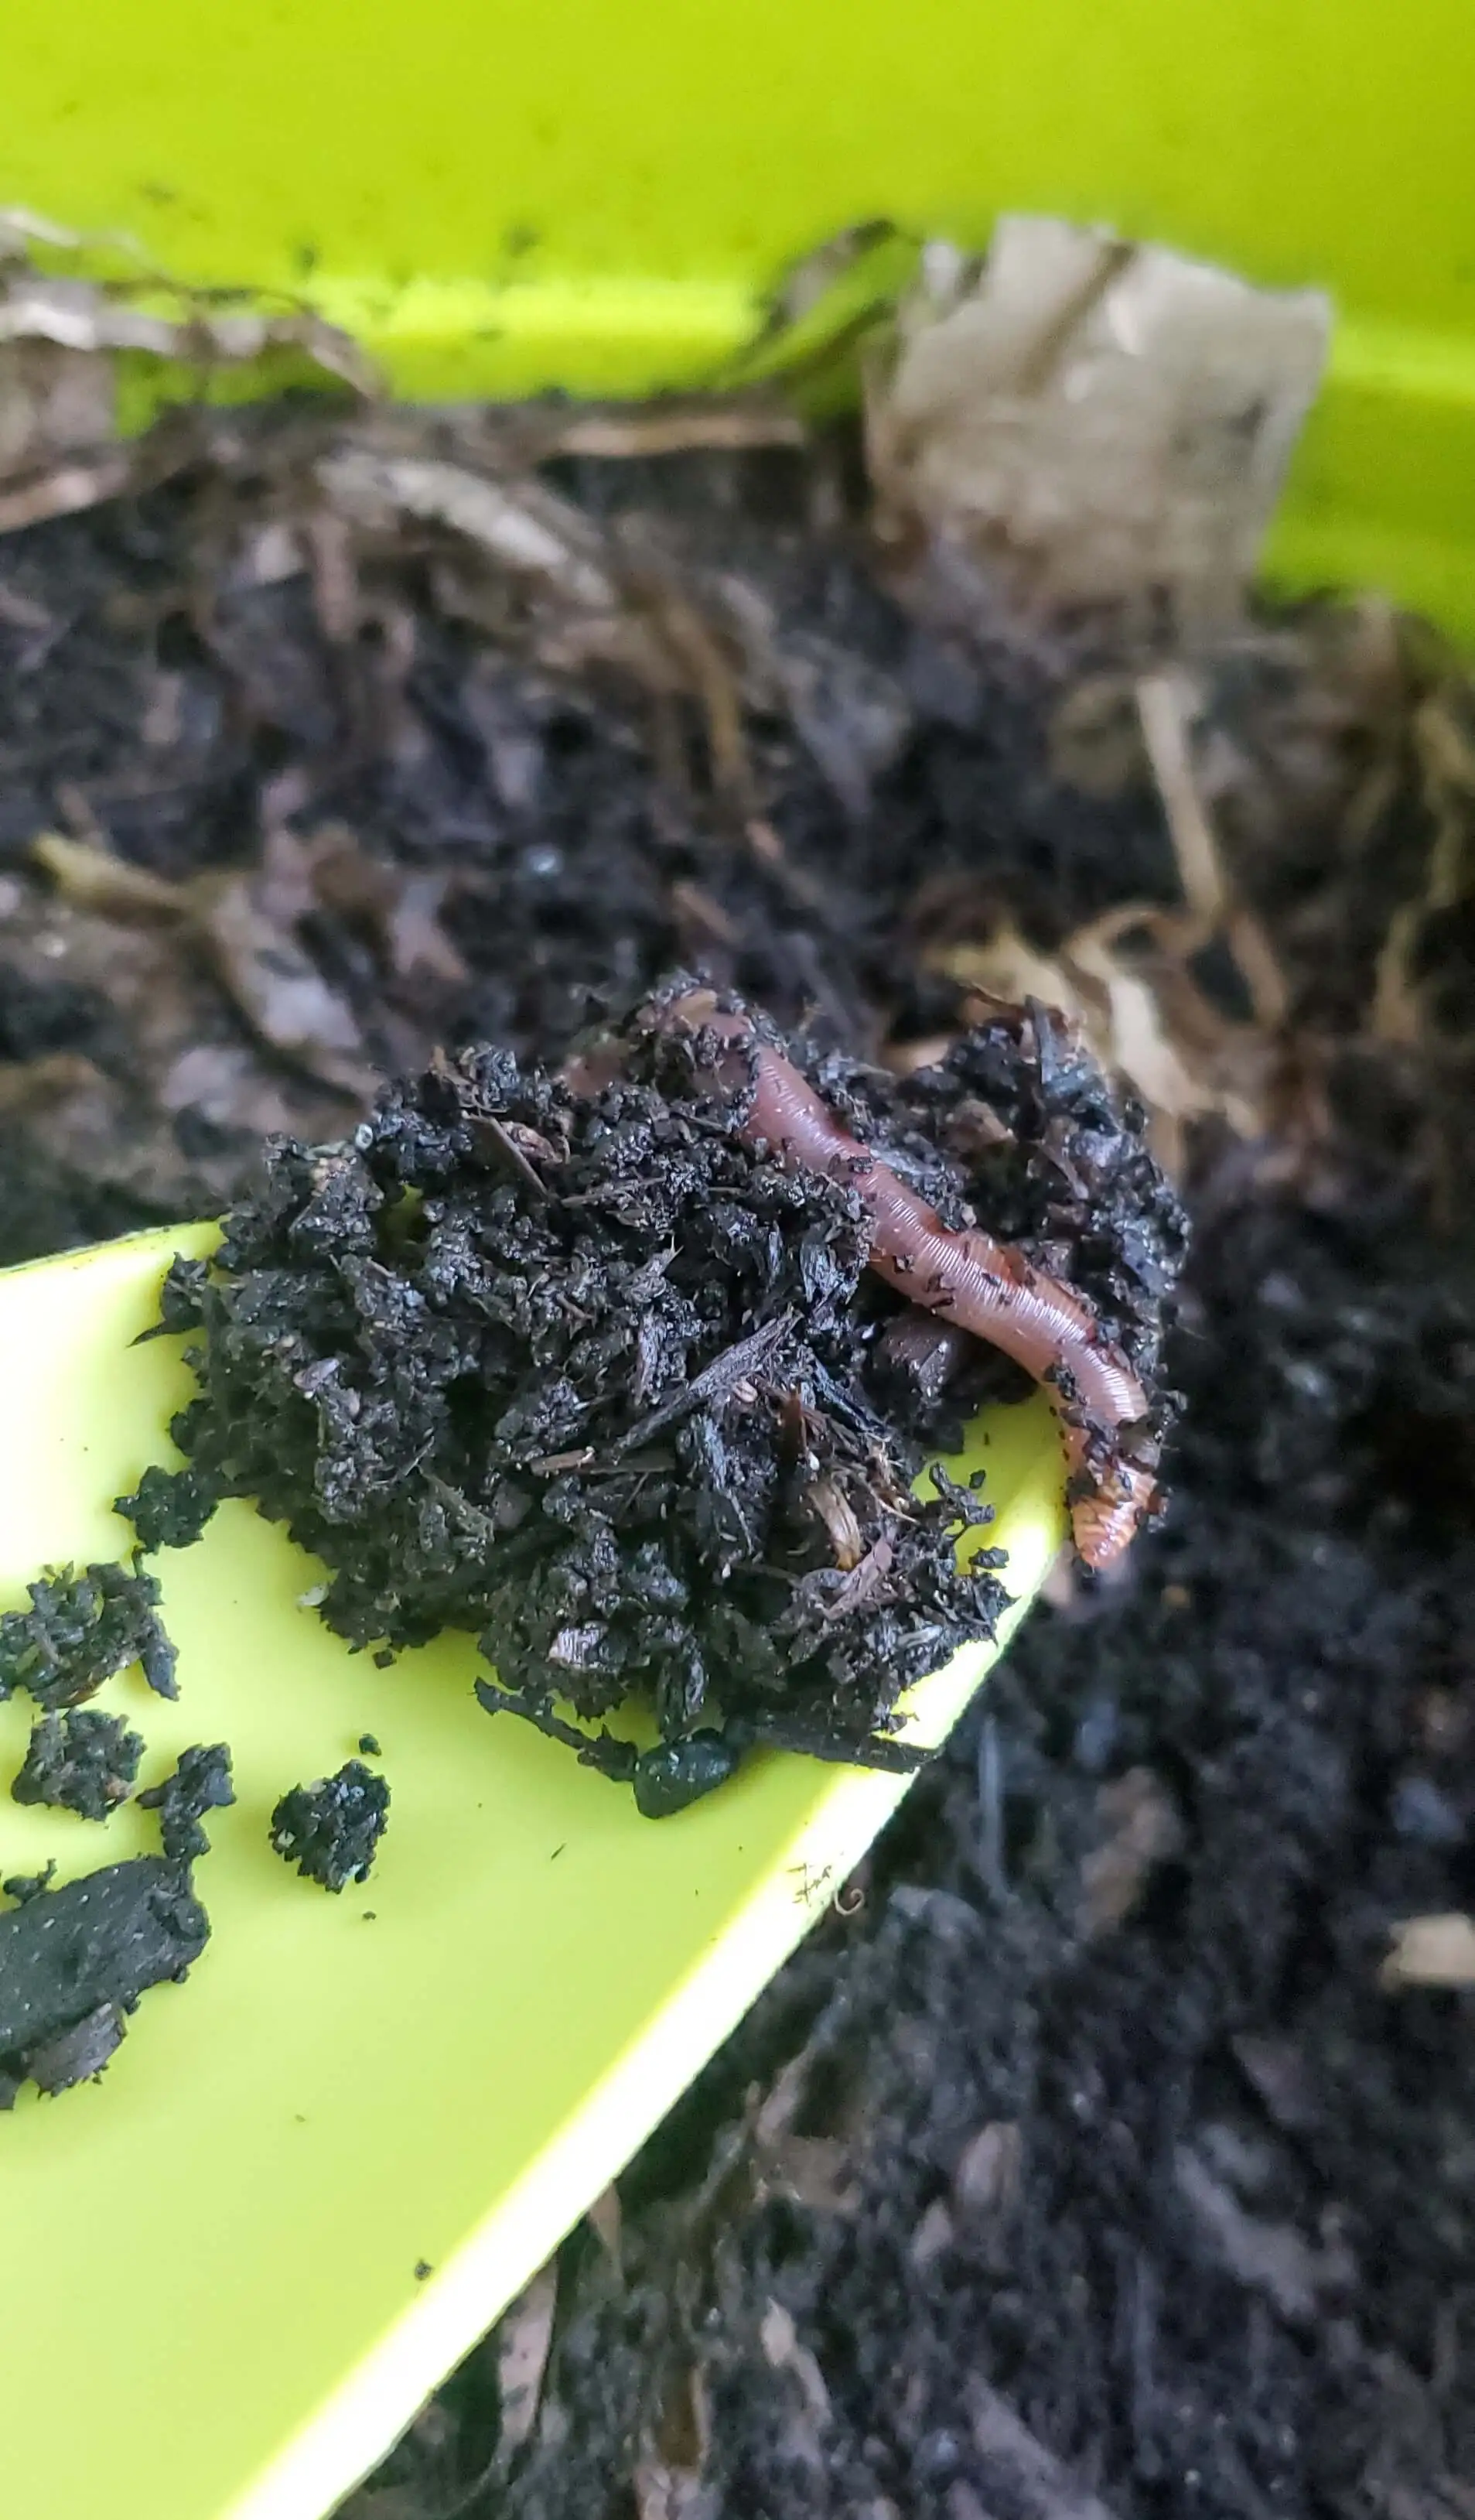
- Time for the worms! I have read a lot about worms. There are over 1,800 species of earthworms. Those that are typically happiest in worm bins are Red Wigglers. Do other worms work? Of course, but not all work as well. Some get agitated, others escape, but they each have their strengths. Multiple sources noted that Red Wigglers are the best option for worm bins. Red Wigglers are available local garden centers as well as online. From what I have been told these guys reproduce like crazy, so if you have a friend who composts with worms, you might even see if they are willing to share.
- Cover with a little cardboard or other bedding.
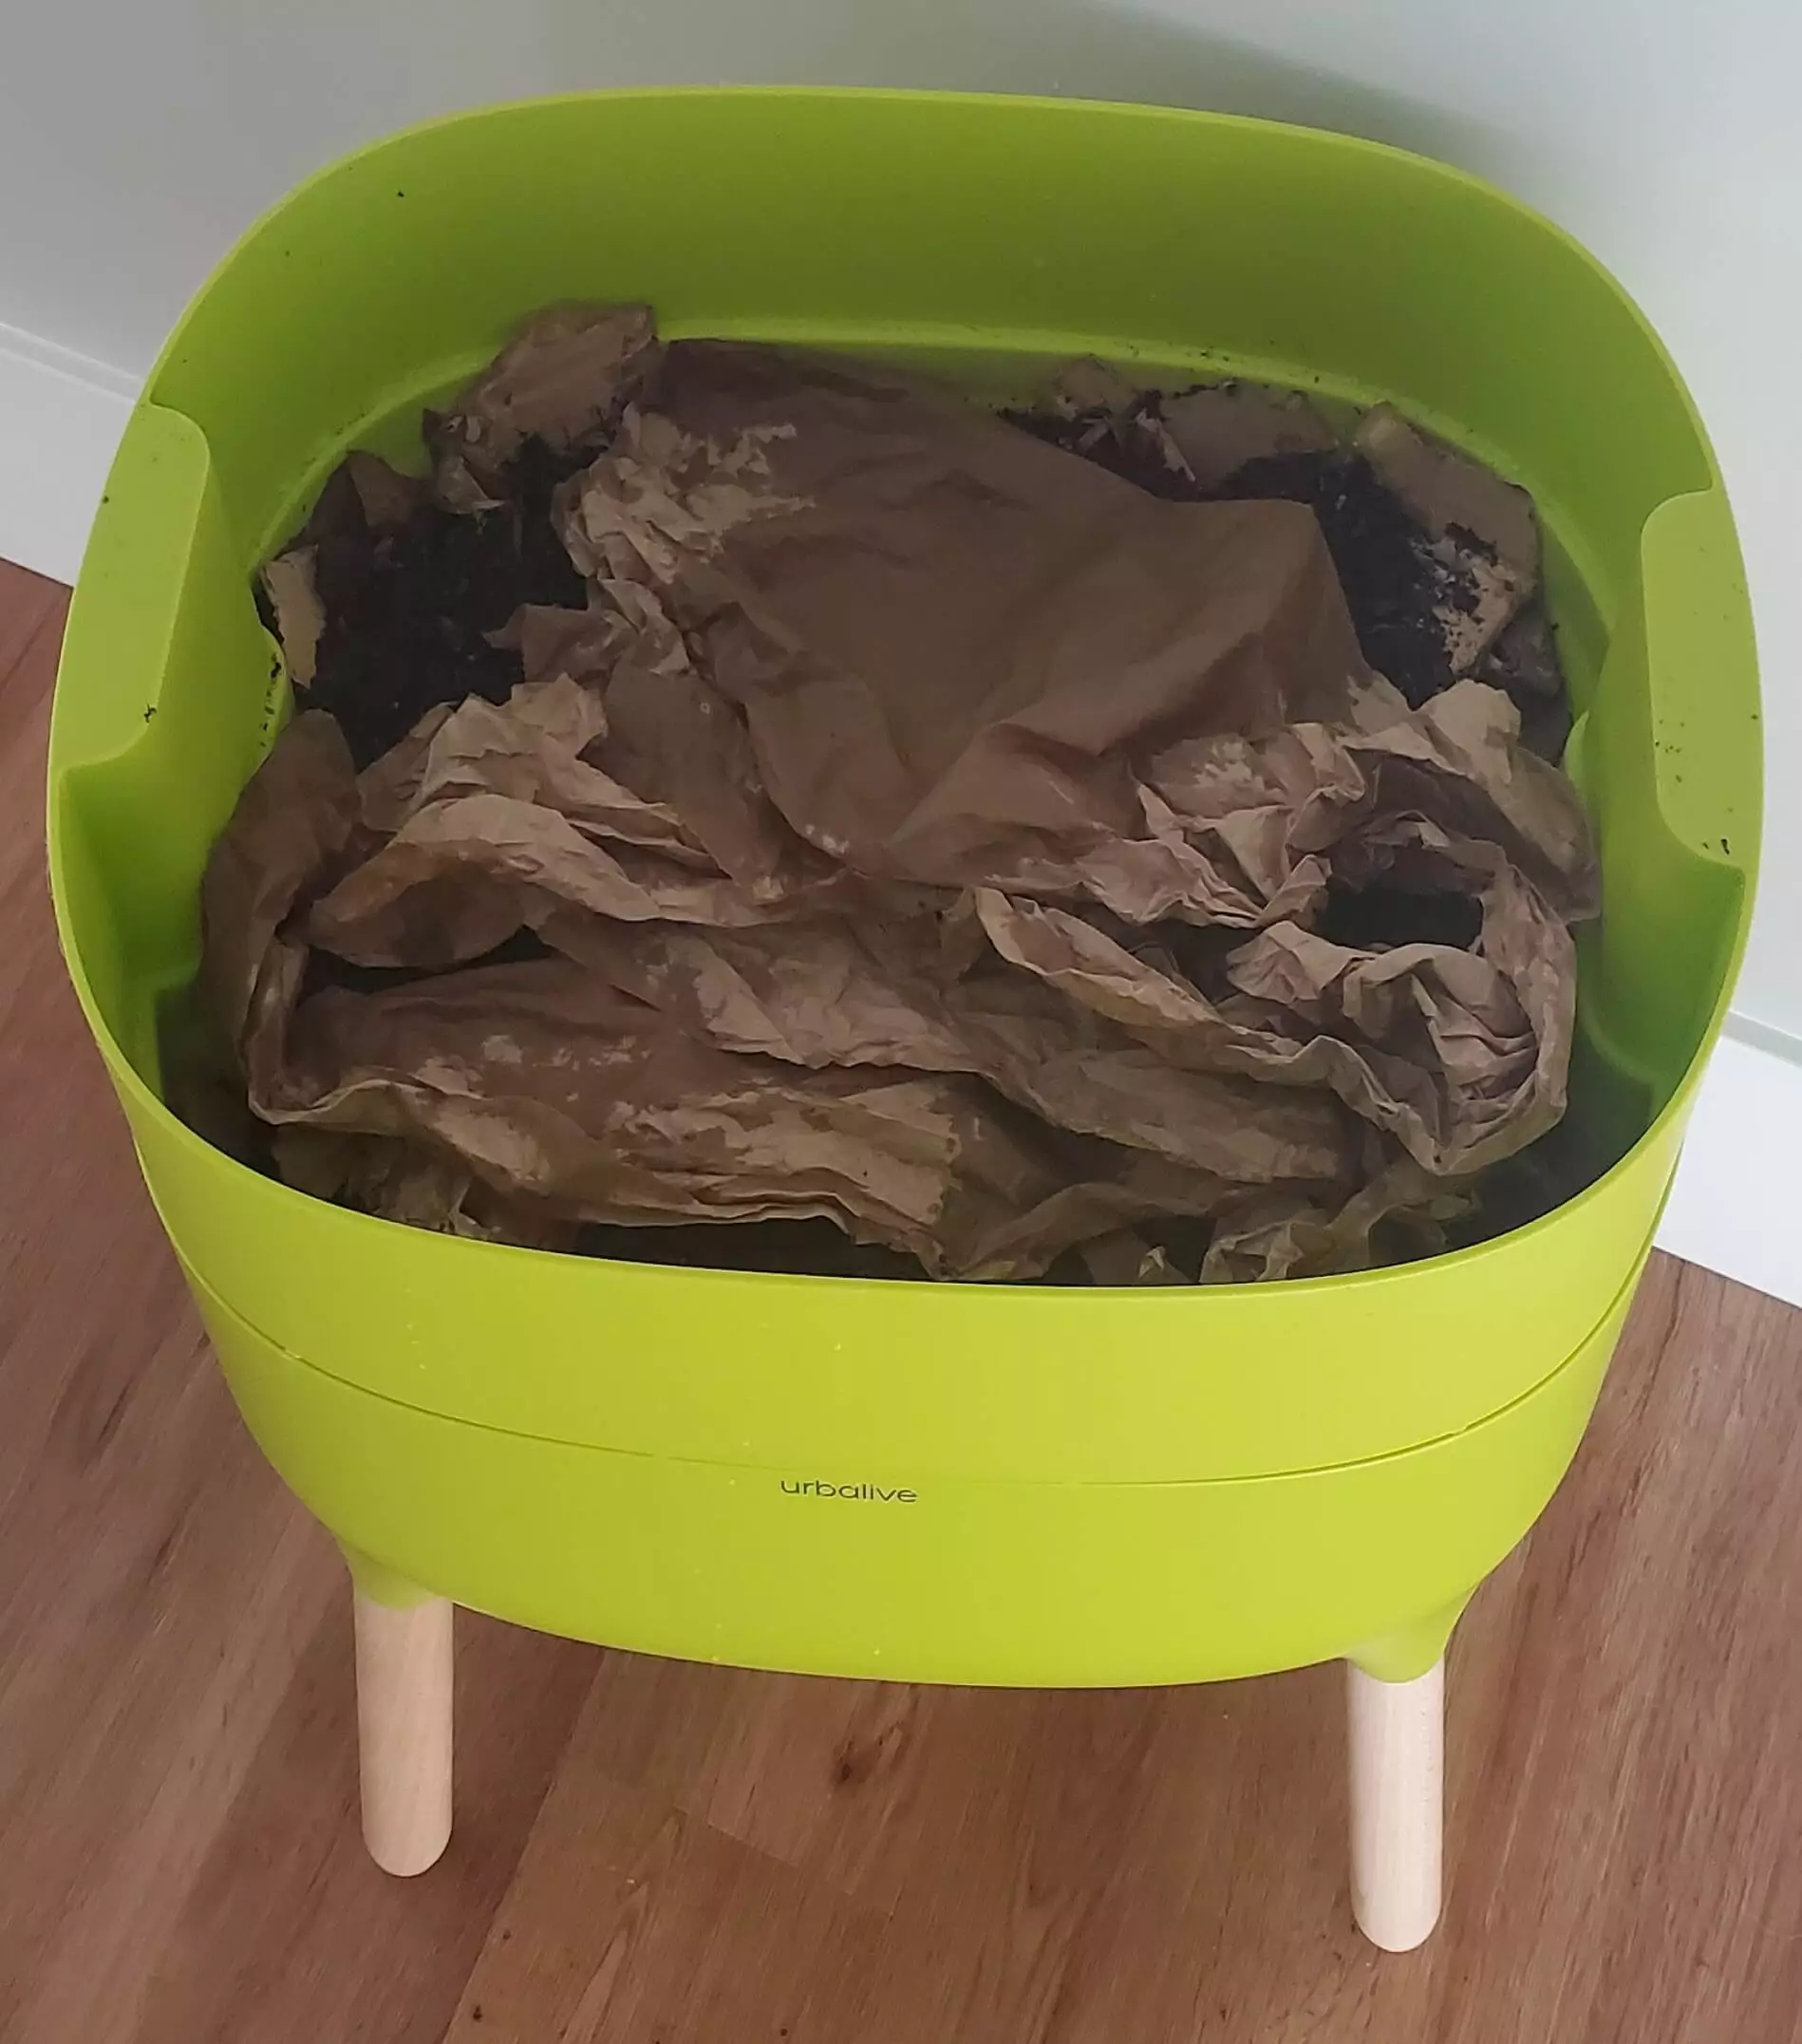
- Place the lid on the worm bin and give your new tenants a day to settle into their new home.
The next day:
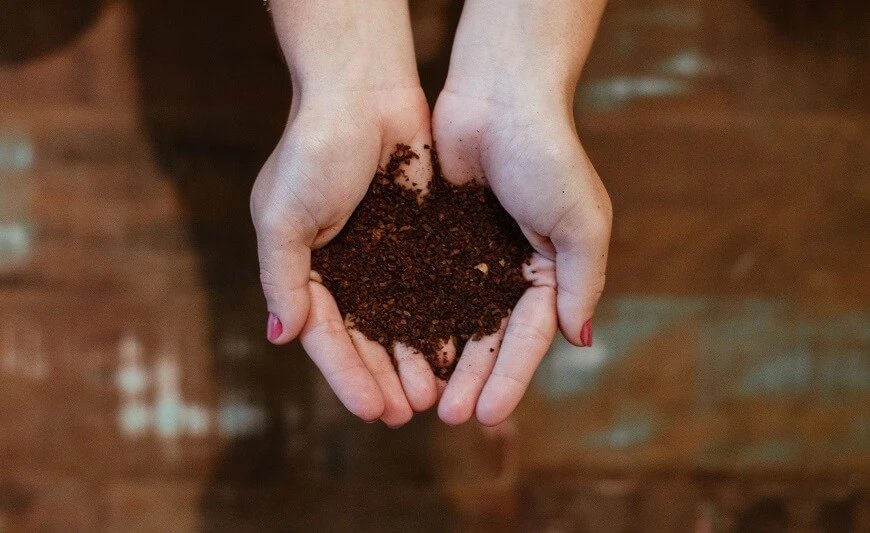
- Add a bit of food (think kitchen scraps that came from the Earth: carrots, apples, coffee grounds are a “Yes”. Whereas meat, eggs, and oil are a “No”).
- Cover with a little cardboard or other bedding.
- Add the lid and let them get to work.
Over the next few months:
- Continue to add kitchen scraps once or twice a week.
- If there is water draining from your bin, you may be adding too much food. Slow the additions and add a little more bedding.
- If it looks a little dry, add a few ice cubes.
- Compost is ready for use once it becomes even in color. This is when you will make a new layer and add it to the top. Worms will find their way up to the next layer and begin the process all over again. This may take as little as two months or as long as six months.
- Two weeks after adding the new layer, remove the bottom layer, confirm that there are no remaining worms (if so, just help them along by placing them in the new layer).
- Use that lovely nutrient-rich soil. Your plants will thank you!
And the results?
1 Week Later
To be sure that they were given an optimal living space/work environment, our worm bin remained in our home where the temperature ranged from a low of 62 to a high of 70 degrees. Over the first week, I often wondered if they were doing anything. They were so quiet (not that worms make noise). it certainly didn't seem like they were doing anything. I'm not sure why I expected to have any insight into their efforts, there really was no basis for this expectation. Each time I walked past the bin I couldn't help but wonder if they had enough food, if they were happy with the level of moisture, if they needed anything. I was nervous to check on my worms. What if they all died? What if they refused the food that we provided?
Overthinking it - again.
Of course it worked! They are worms. They were left alone to do the work that they were created to do at a comfortable temperature and with an abundant buffet.
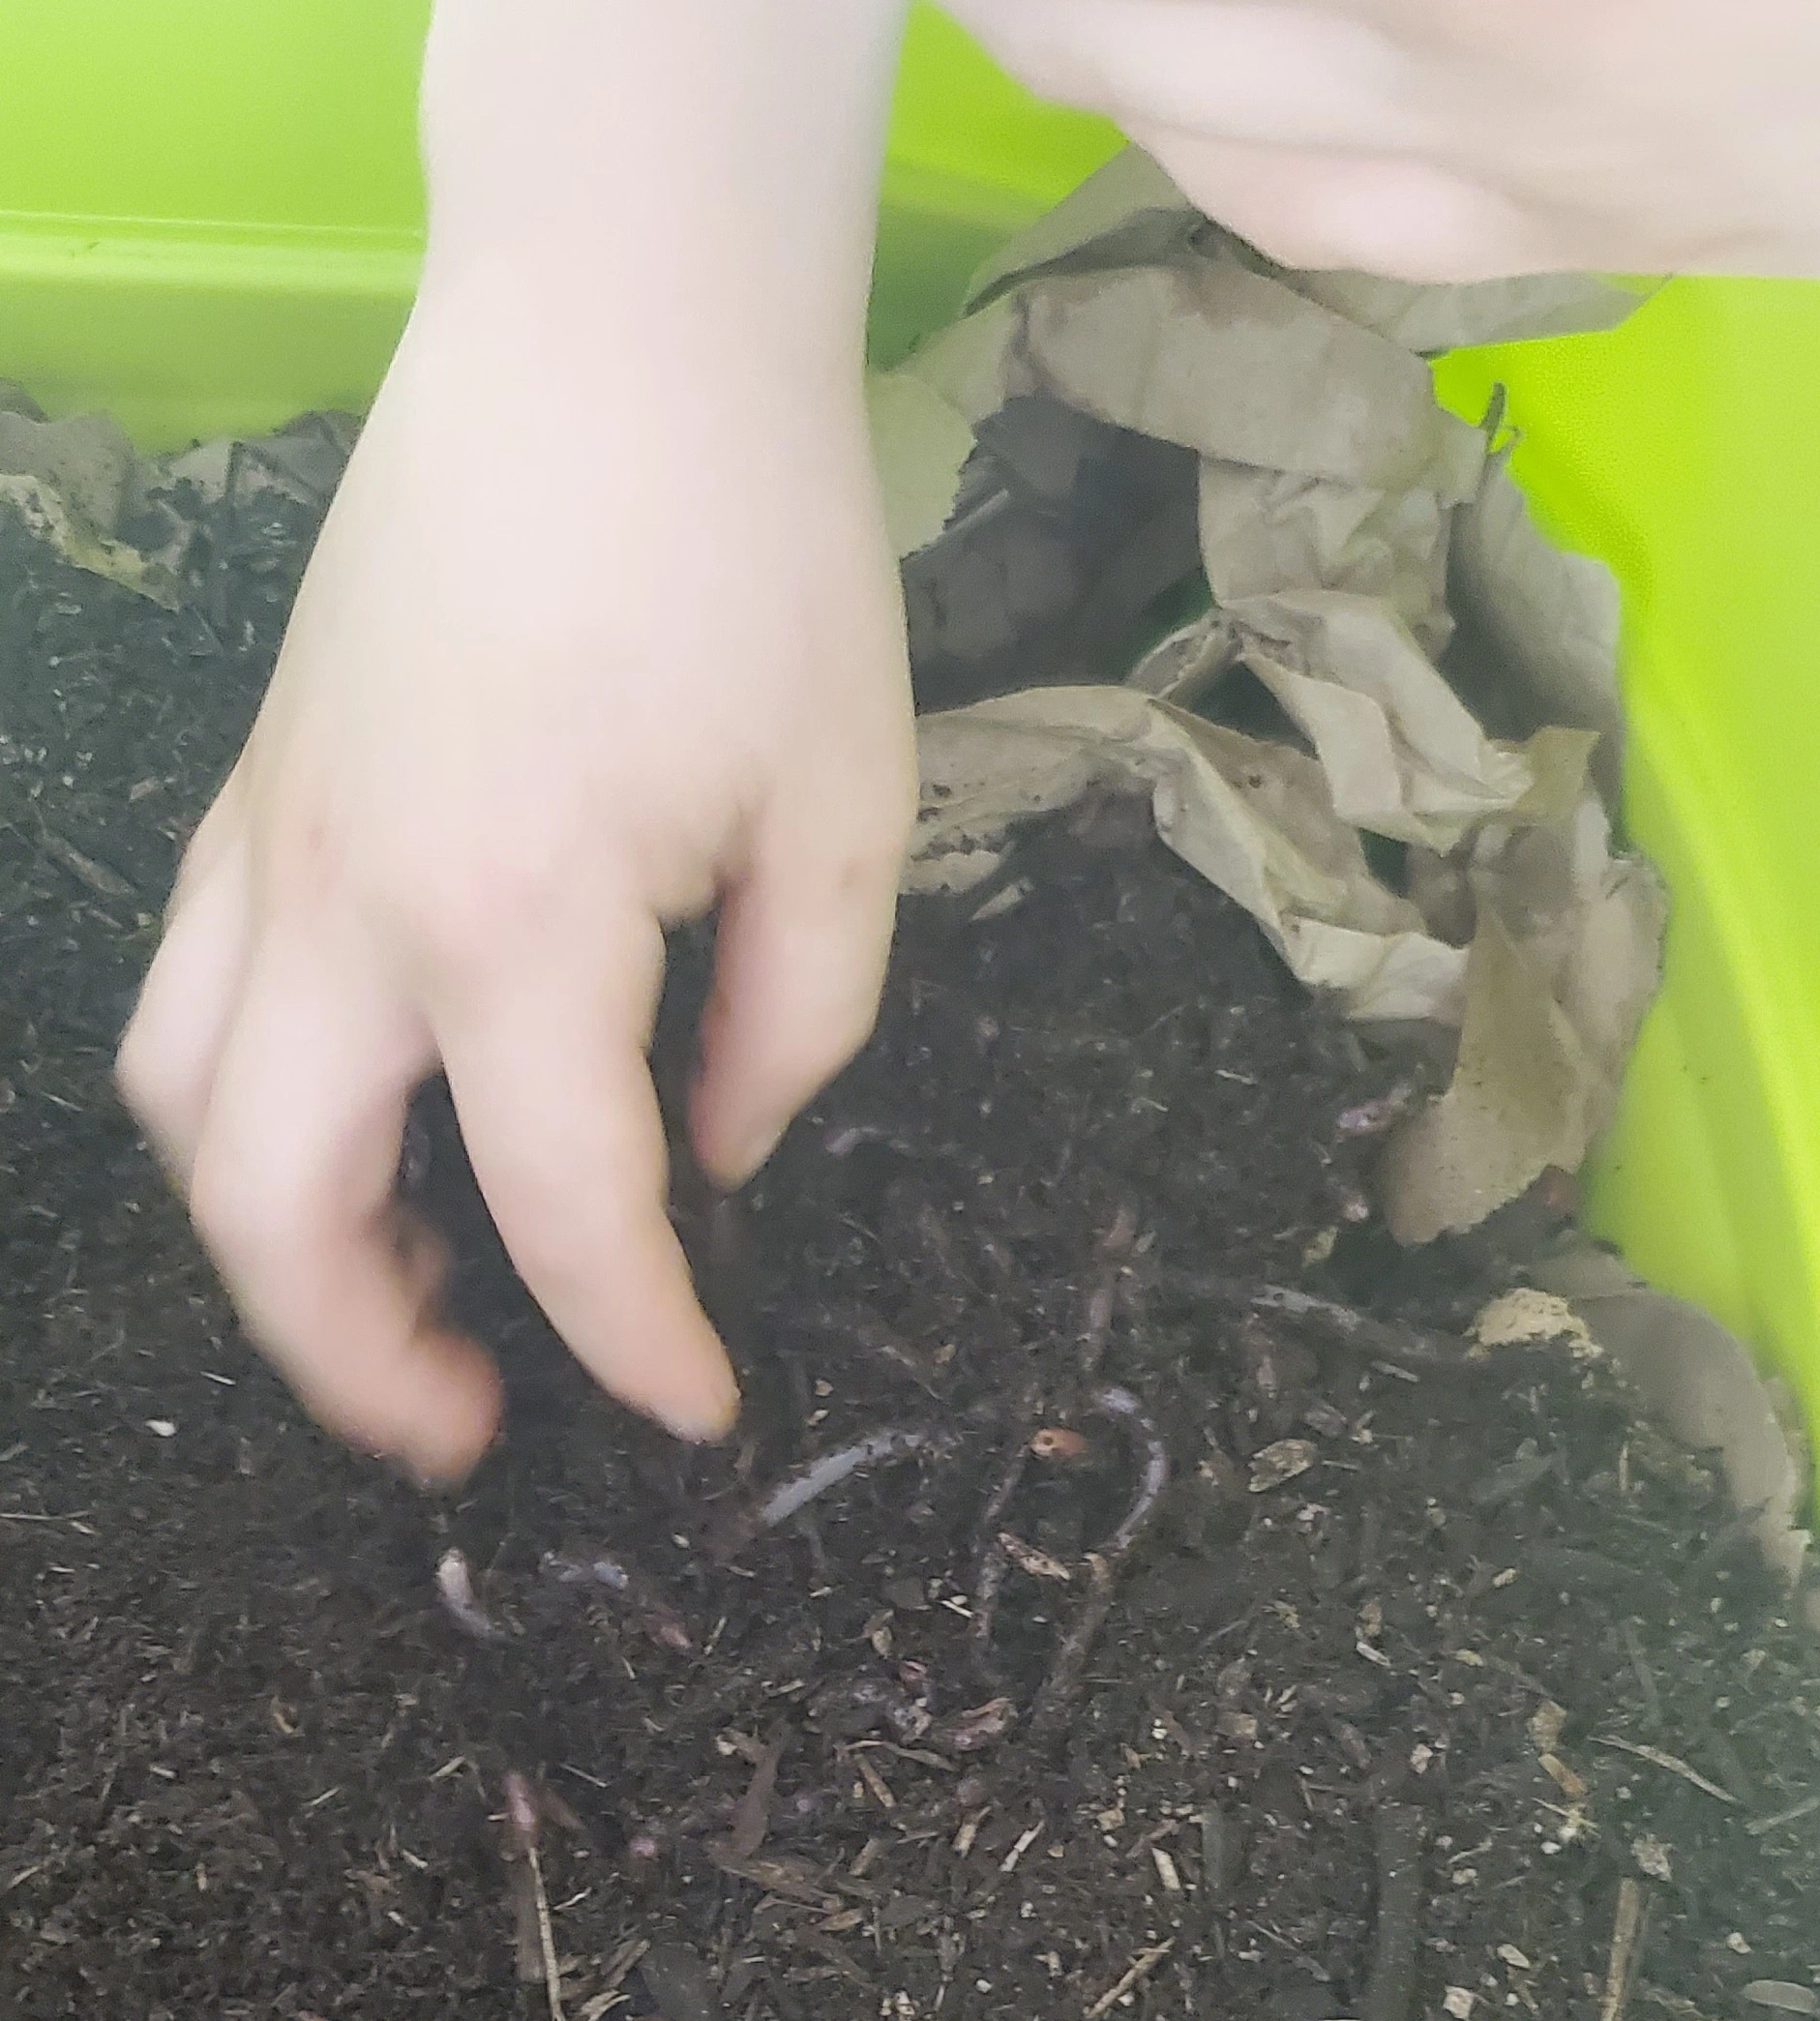
Look at the results after just one week, these were some hungry worms!
.webp) Before
Before
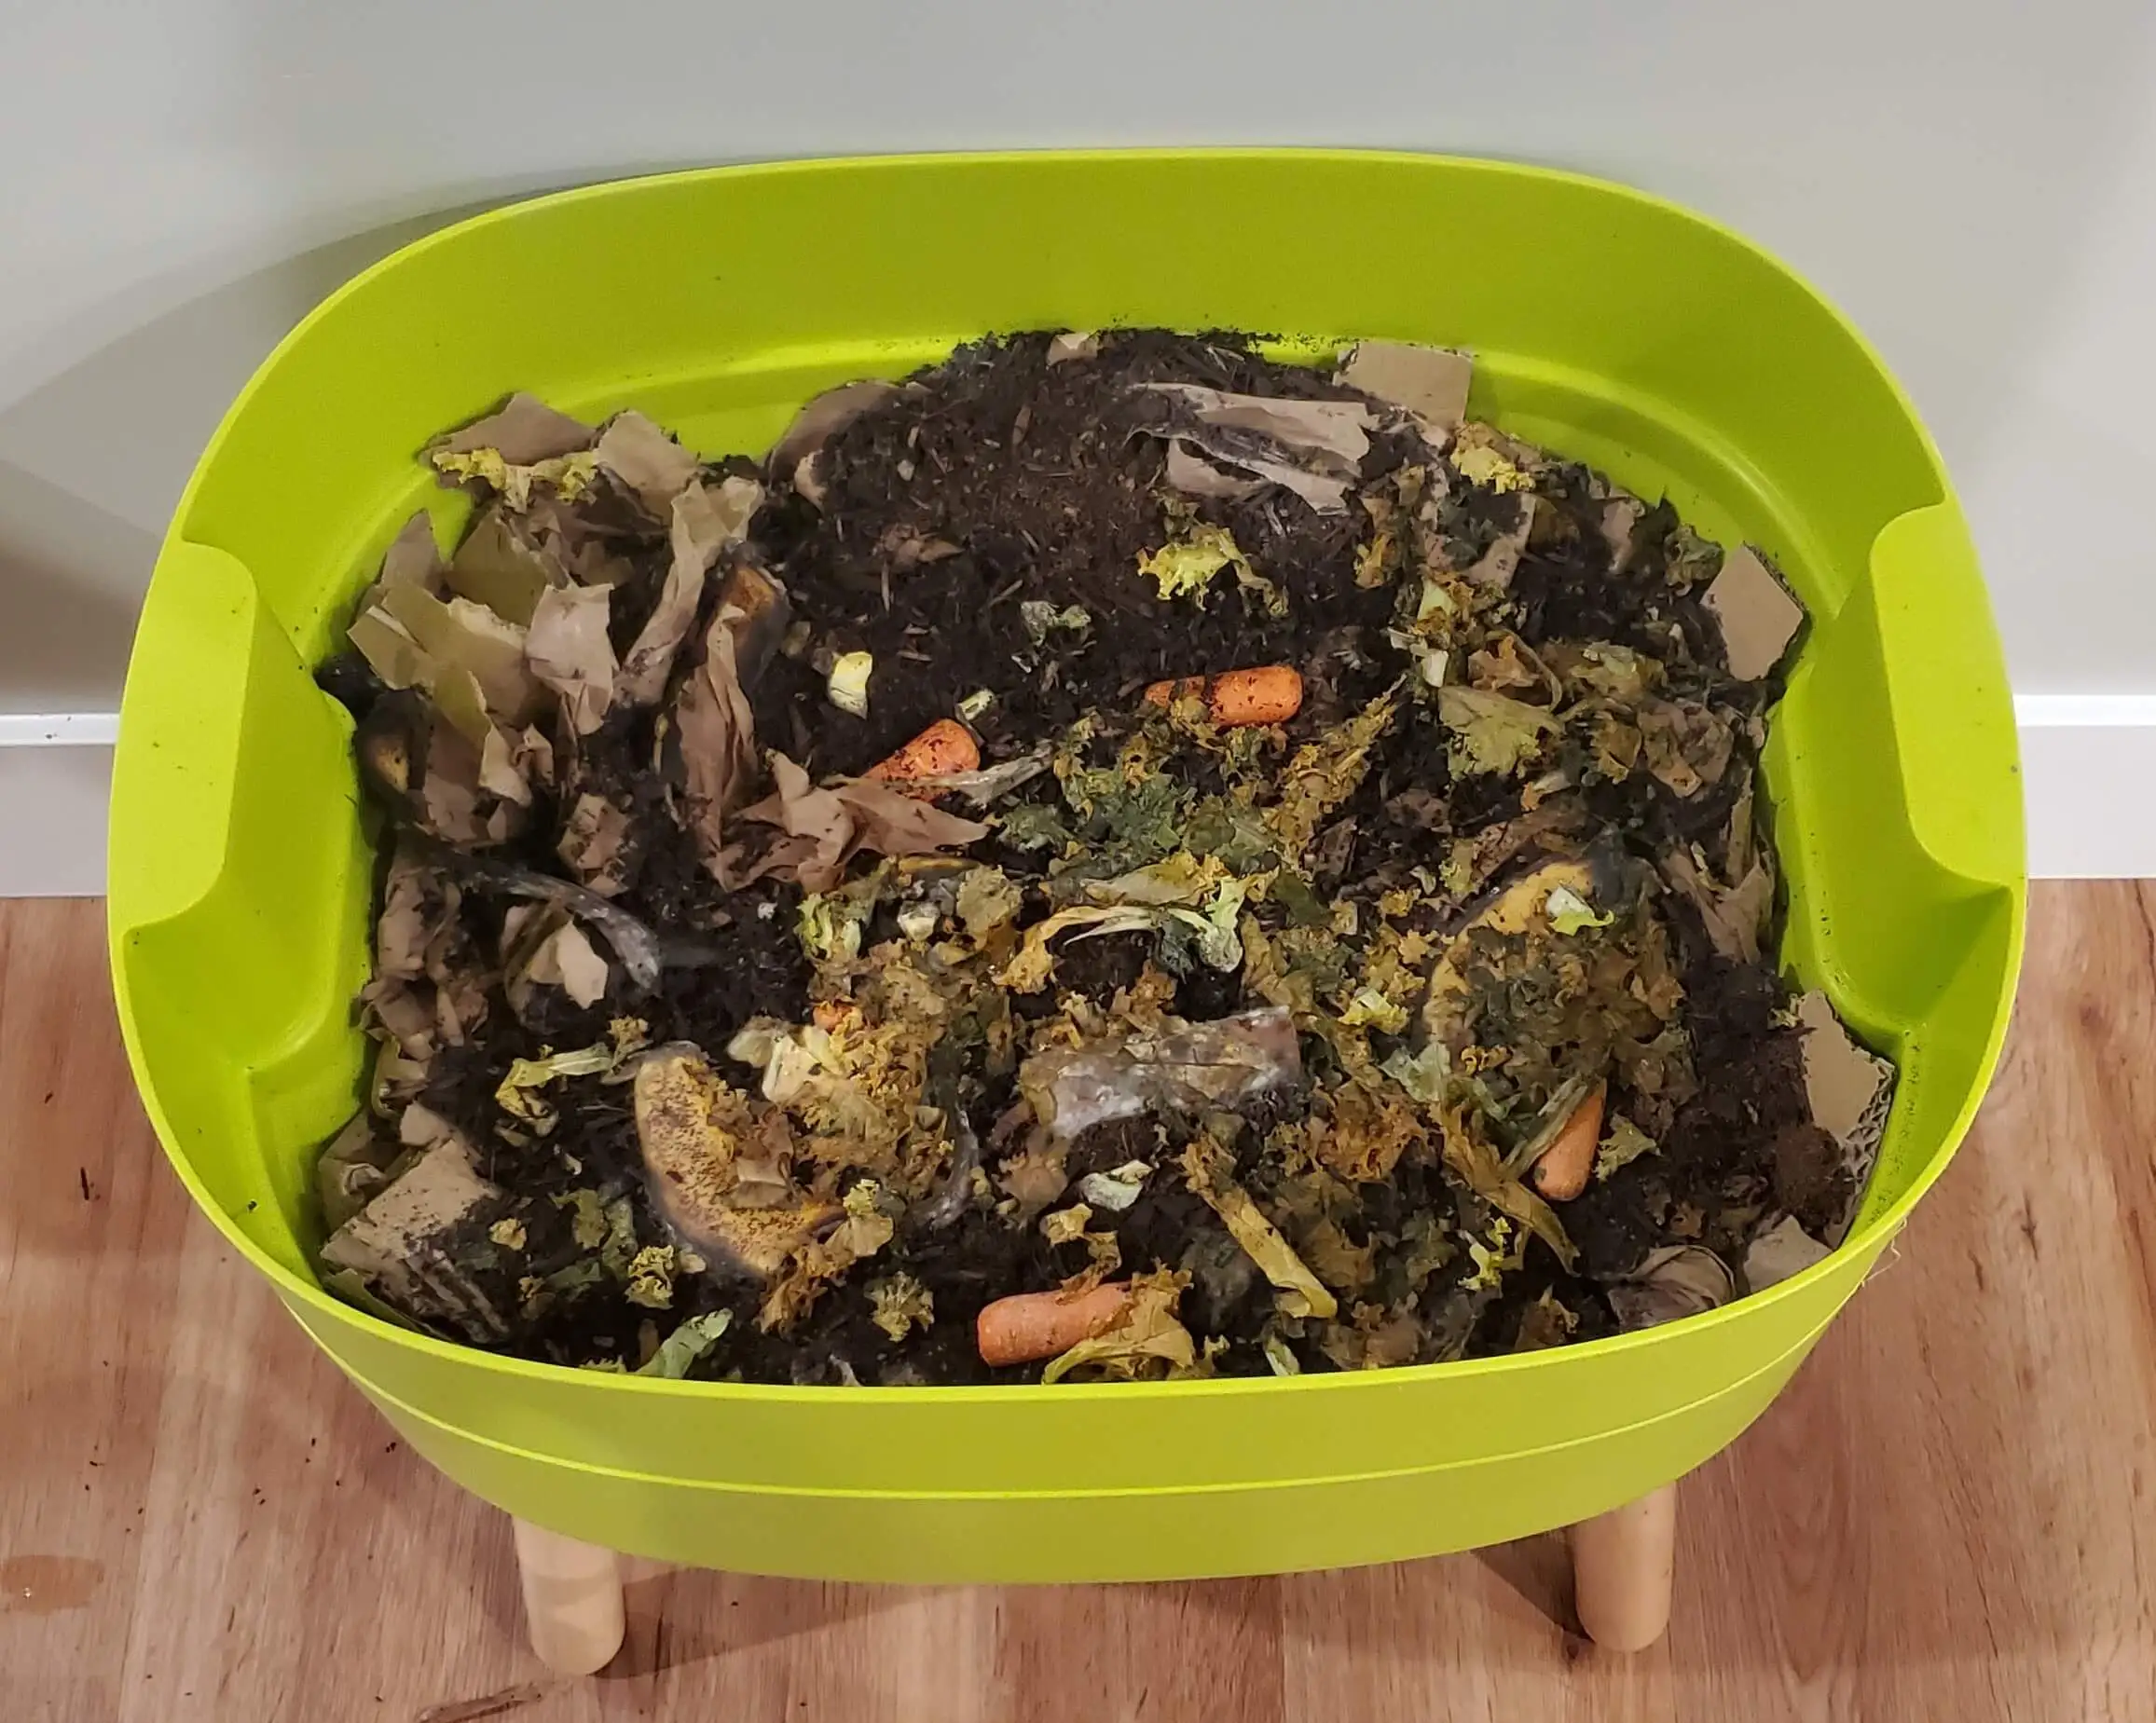 After
After
1 Month Later
We have compost! Albeit a tiny bit.
For my sanity, I chose Wednesday and Sunday as feeding days. The "when" was consistent, so I experimented with the "what", or food variables. Here is a list of what I have tried and the results:
Feeding Location:
As a novice, I wanted to be sure not to overfeed the worms, I created 3 zones in the vermicomposting bin (left, center, and right). The first feeding was on the right zone, the second feeding in the center zone, and the third feeding was in the left zone. By feeding just one-third of the bin per feeding day, the worms have ample time to consume the food before circling back to the first feeding zone. I found this to be quite helpful and I highly recommend it if you are trying to gauge just how much your worms eat.
Food:
My research indicated that worms have likes and dislikes, so I avoided foods that worms like least (onions, citrus, ginger, etc.). Banana peels, apple cores, and kale seemed to nearly vanish. Carrots, grapes, and tomatoes seemed to take a bit longer but were consumed.
Scraps vs Blended:
As you might expect the blended scraps were consumed faster because it was easier for the worms to eat. What I wasn't prepared for was that the increase in moisture from the blended items coupled with the smell of those blended veggies…To be honest, it was a little gross. I appreciated that a little more effort on my part resulted in the worms processing more food and producing more worm castings. As a happy medium, I am currently experimenting with providing worms with chopped scraps. Without being too neurotic, I try to keep the pieces no larger than one-inch. There are a few exceptions, apple cores and coffee grounds get placed in the bin in lieu of the trash without further consideration.
I ran into a few issues over the first month, which you will find detailed below along with the fixes that I found to be helpful.
Fruit Flies:
What a conundrum! Those darn little flies are super annoying and unfortunately, find the worm's food (decomposing fruits and veggies) to be the ideal location for their eggs. The best tip I found was to cover the food with a little dirt after adding it to the bin. This doesn't eliminate the flies completely but lessens their ability to multiply.
Mold:
While gross, this isn't an issue. Mold is a normal part of the decomposition process. If you are finding a lot of mold, your worms may have too much food and you might need to scale back the amount of food you provide at each feeding.
Too Much Moisture:
Having initially read that too much moisture could result in a stench, I was very careful when setting up my bin. This focus led to a happy worm bin. Things changed as I began experimenting with pureed food. In hindsight, this result should have been obvious, but sometimes I have to learn by doing. Blended food yields both fiber and water all at once - it was stinky! Super stinky! Not a problem, I simply added a bit more bedding and within a day the smell was substantially better, and just a few days thereafter, gone. Thank goodness!
Two Month Update
After reflecting upon my experience thus far (and after additional research), I believe that I identified the root issue: I needed more worms. I giggled to myself when I received my FedEx box. Because it arrived in a standard FedEx box, I wondered if the driver had any idea that he was delivering 250 worms! My worms from Uncle Jim's Worm Farm arrived nicely packed. Just as the directions indicated, these worms rehydrated (grew) seemingly overnight. True to their name, these are "wigglers"!
Now holding approximately 300 worms, my small worm bin was packed! They didn't know it at the time, but this was really just a temporary home. Lucky worms would find themselves moving to more real estate once I finished my raised garden bed project. My "lasagna" garden bed (read about that project by clicking here), was finished in time for spring garden planting and the worms moved in a few weeks prior to the plants.
Over the first month, my worms produced castings! Truthfully though, not a lot. Given the small volume of castings, I decided to use them as the foundation to build a new bin layer. I had envisioned an amount suitable to nurture a single plant at a minimum so my results were a bit underwhelming, thus the prudent decision. The addition of worms was a good move, almost immediately I noticed that they were consuming SO much more food waste than I had been used to supplying. It felt so good to have less food in our garbage can. In a small way, and I mean like micro small, I enjoy being part of the solution to reducing landfill waste.
Summer Update
Well, this is embarrassing to admit, but my worms have died. In spite of my best efforts (on most days), they just could not handle the heat.
What happened, well, let's face it, it was me. That being said, I had the cards stacked against me during my first summer with a worm bin. The summer heat waves in Northern California have been…record-breaking. Doesn’t "record-breaking" sounds more palatable than what most residents would actually call it, it is dang hot! I do love summer and can tolerate higher temps pretty well, but I have to say, multiple days exceeding 105 degrees and a few as high as 115 sprinkled in makes it hard to enjoy spending time outside.
Until June, I had my worm bin located in the garage, it is a cute worm bin, but I didn't intend to keep it in the house forever. The garage made it easy to tend to and provided predictable temperatures throughout the spring. When the first forecasted heatwave was approaching, I worried that the afternoon sun pelting the garage would be too much. I decided to move the worm bin out of the garage to the North-Eastern side of our home. This location seemed to provide the best opportunity for success with shade during the hottest points of the day. This particular position also tends to be a bit breezy which seemed as though it would only help to lower the interior temperature of the worm bin. I feed my worm bin each Wednesday and Sunday. On these excessive heat watch days, I knew that these worms needed a little extra attention so I added a bag of ice. I didn't want to add moisture, but I wanted to lower the temps. The bin needs to stay below 90 degrees to keep the worms alive.
And this ice bag worked! I was quite proud of myself for finding a solution and beating the odds and keeping my worm friends alive. Where I failed, was incorporating this new ice trick into my daily routine. It was a slow decline but started with days like this: I took the kids swimming after work, we got home in time to make dinner, but after household chores and prepping for the next day, I just didn't have the energy to tend to the worms (even after my 3 pm iced coffee). A few blissful 90 degree days were sprinkled between the heat waves which only further destroyed my routine.
After two consecutive hot days without ice bags, I opened the bin to feed it and my heart sank. There was no movement and the soil looked parched. I dug around a bit with my shovel to no avail. Disappointed and sad, I slowly walked back into the house. My adage for the kiddos haunts me: “Our actions and inactions have consequences.”
Where do I go from here?
Perhaps it was naive, but I didn't anticipate that I would have to start over. While I am still bummed about the outcome of this first effort, as I reread this post I was reminded about how much I enjoyed this experience. So, I will take a few months off and let the temps mellow then try again.
If you have any interest in vermicomposting, I encourage you to give it a try. It is exciting to see the productivity.
Helpful vermicomposting resources:
Websites
YouTube
https://www.youtube.com/watch?v=MsEw2L2j49I
https://www.youtube.com/watch?v=mtlRpZlEv2s
Products I’m using
Worm Farm Composter: click here
Kitchen Compost Container: click here
Red Wiggler Worms: click here